Tonight's three hours of fun...
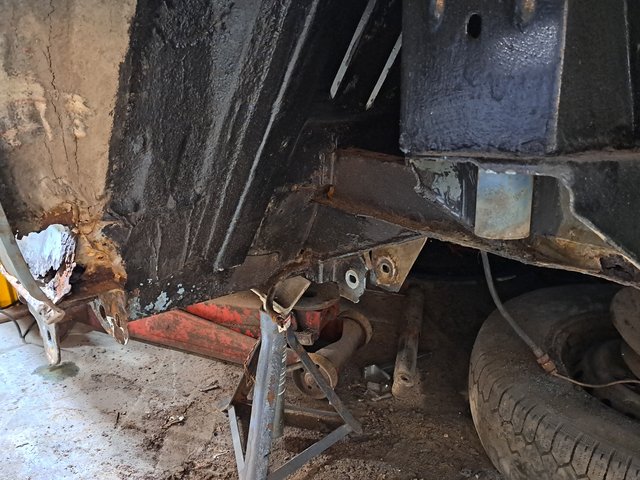
Was spent trying to get the trailing arm out.
What a complete turkey of a job :/
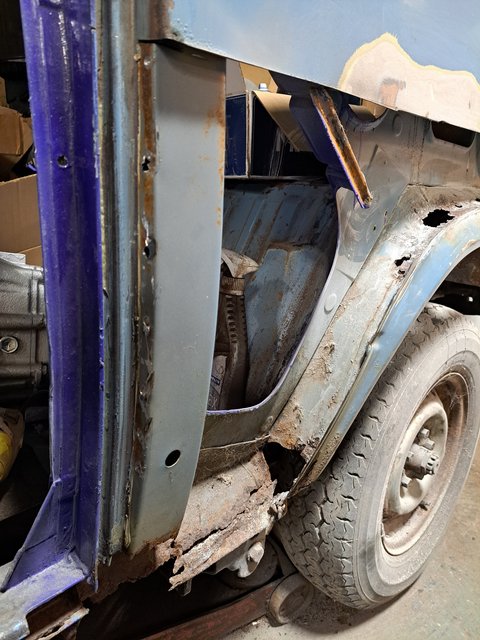
The trailing arms each have two bushes.

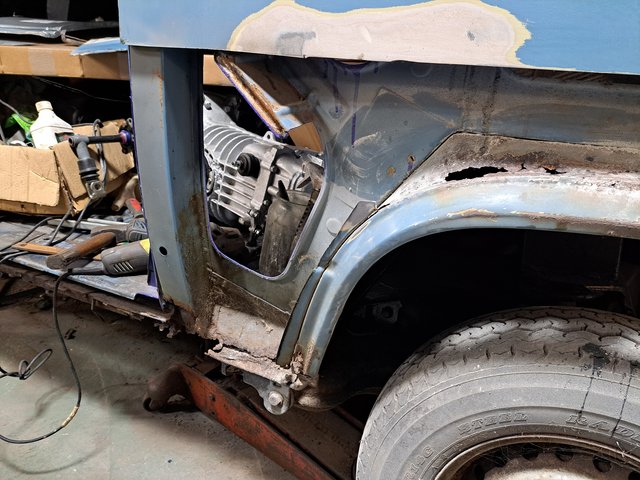
These old beasts have truly independent suspension.
Unlike the Cavalier that has one full width rear beam arrangement.
The bolt for the inner bush came out without too much drama, although the nut made lots of cracking noises as I slowly wound it off the bolt.
The outer bush pivot bolt was having none of it, and promptly sheared it's head off.
There was not enough room to get a saw or cutting disc in, without creating even more damage.

I tried drilling the bolt out, but progress was very slow.

Although it should have been a 19mm nut, due to corrosion I was able to knock a 17mm socket on.
The nut relented, with the familiar cracking noises for good measure.
But the bolt remained stubbonly inside the bush.
Time for a temper tantrum.
A lot of cursing and wrestling eventually got the arm out.
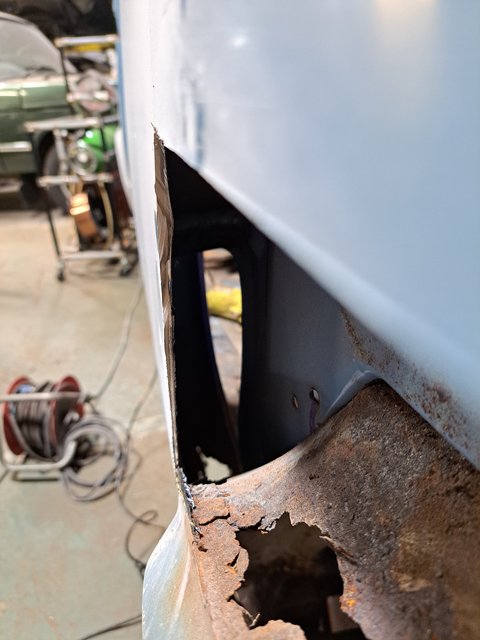
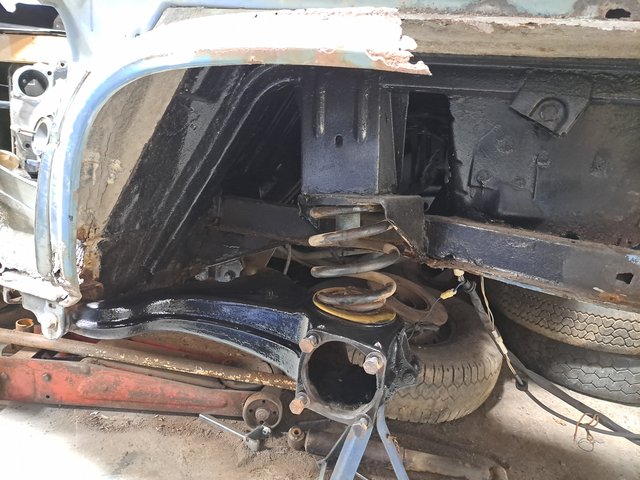
The only option was to remove the whole bush.
This was achieved by drilling the rubber between the arm and the central sleeve.
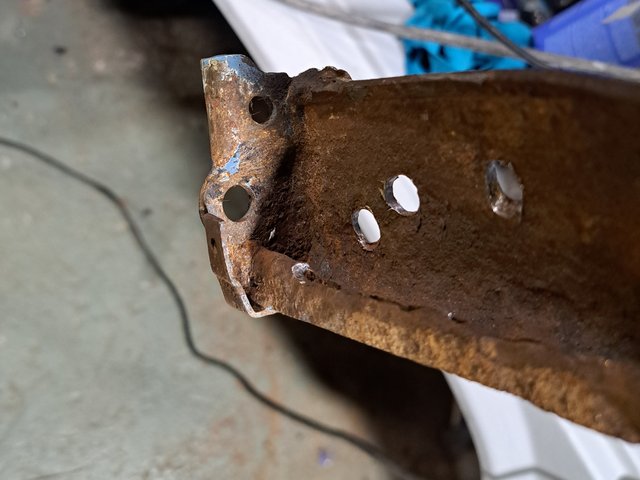
the bush removed and the arm cleaned and painted with phosphoric acid to convert the surface corrosion.
Amszingly the arm, and especially the spring seat were in good condition.
Only mild surface corrosion. Nothing structural.
The picture looks worse than it was in reality.

More shinanigans on Friday no doubt.
UPDATE - No more shinanigans for several weeks.
Hopefully some progress in December ???