This is about the nearest looking unit that I can find on line.
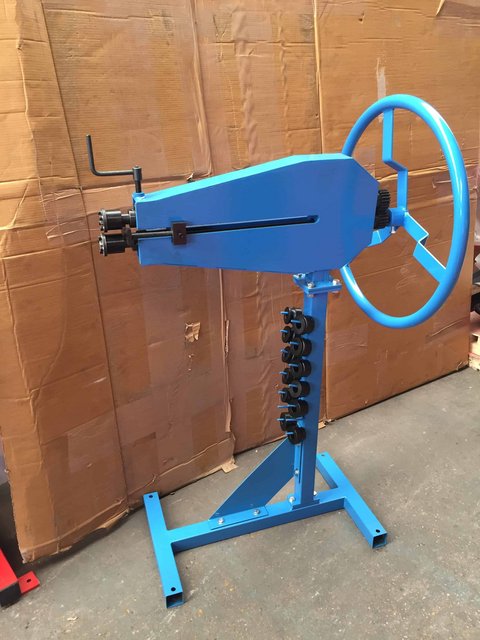
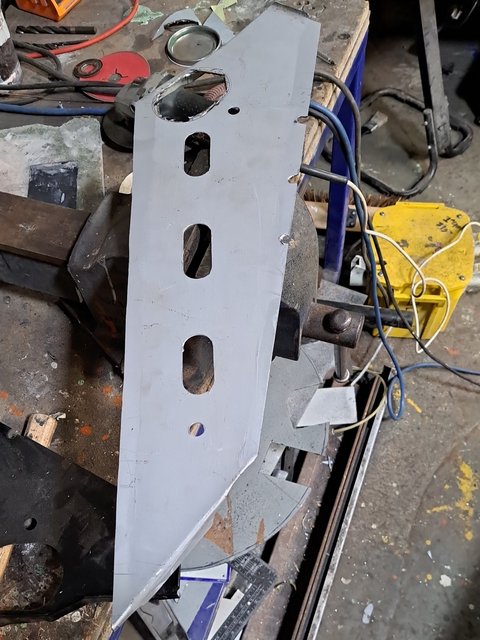
Must be easy if a numpty like me can make reasonable looking panels with it.

Not really - just hyper modest.
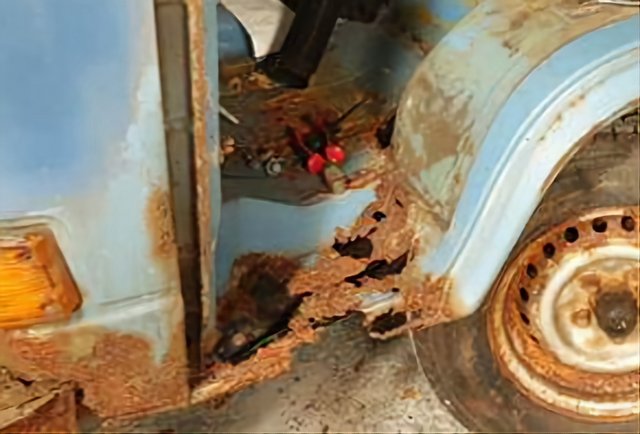


I remember Years ago my dad had got a tin of rust eater from the US Navy polaris base that used to be here. We left it in tin and it ate right through a rusty bit on the tin, don't know how it got on the outside, must have been a little bit of rust through the join or something. Don't really get results like that now with the watered down stuff you get from halfrauds or anywhere else for that matter.3cav3 wrote: ↑Sat Dec 17, 2022 10:38 pm I find most of the modern "safe " chemicals don't really work. One of the best examples is paint stripper. The modern safe stuff just doesn't strip paint. I have to go to one of my trade suppliers and sign is disclaimer stating that its for trade use to get one that actually works, plus I find the fumes are a lot more high inducing than nitromors ever was.