First allow me to introduce myself and the car.
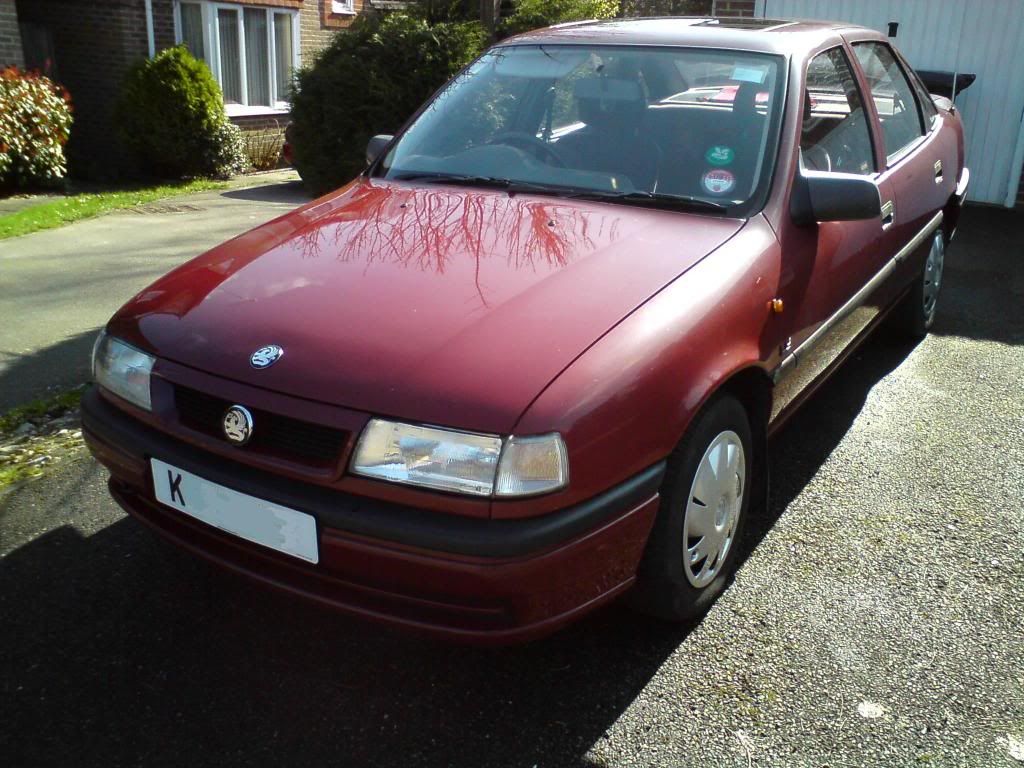
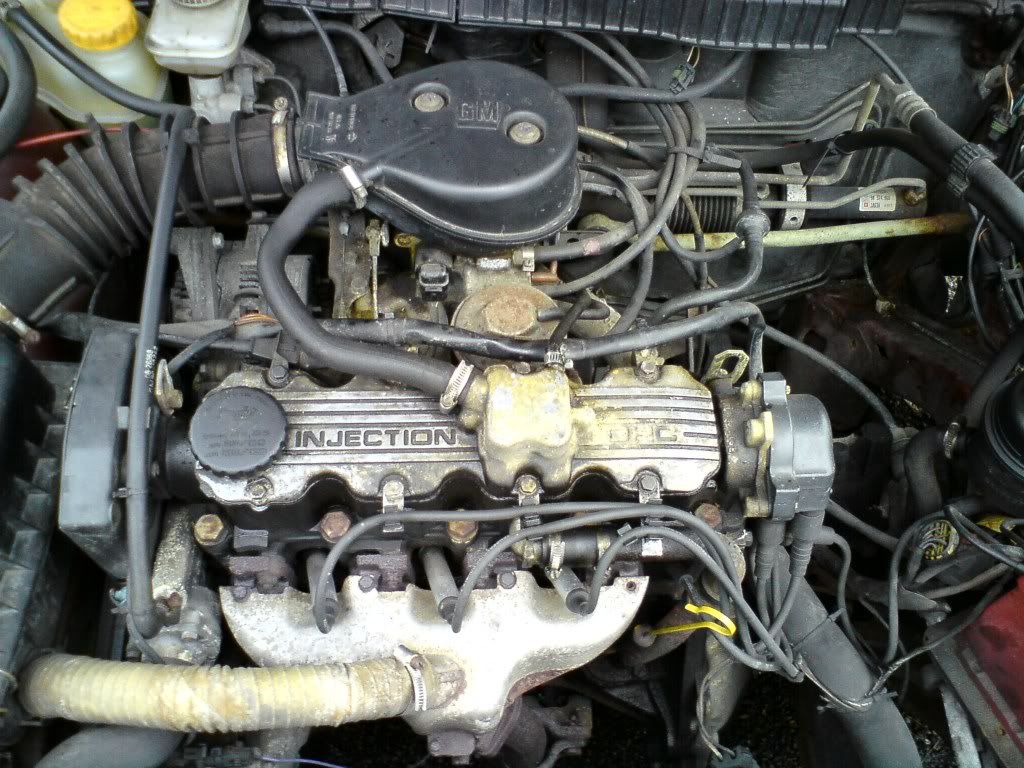
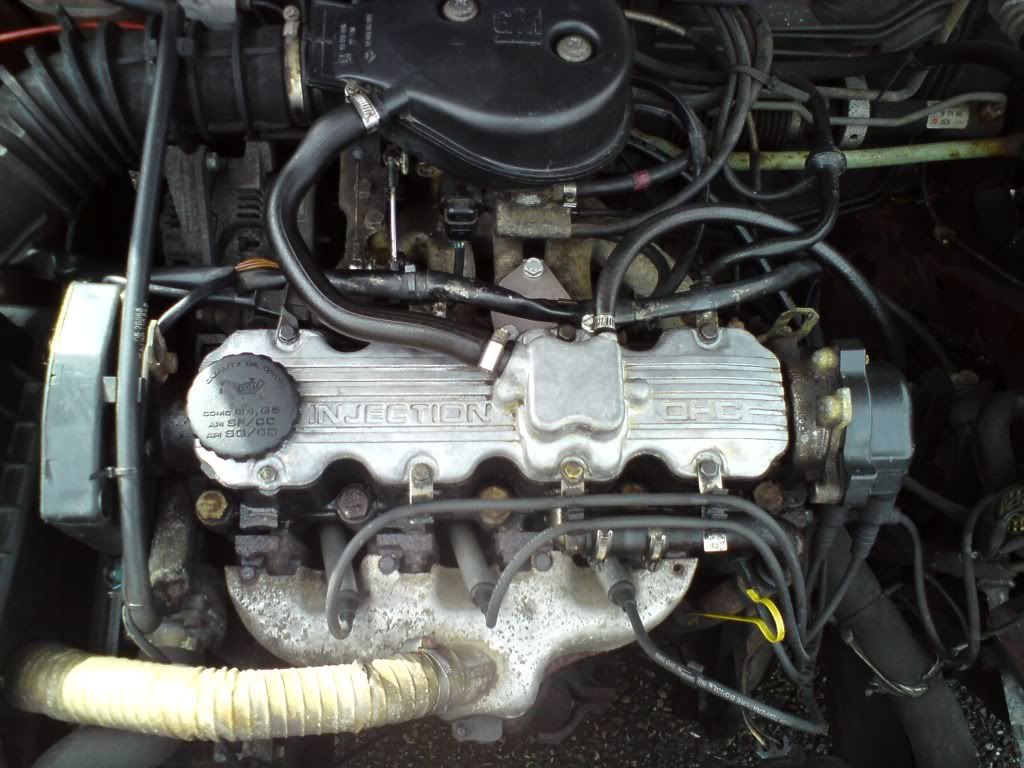
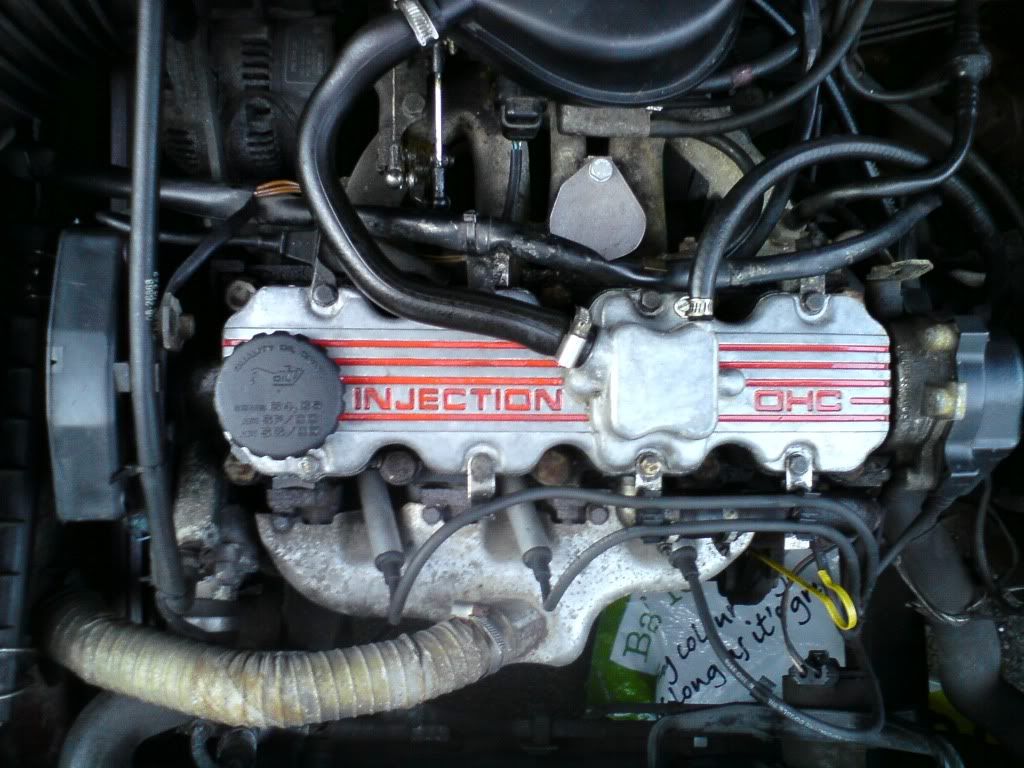
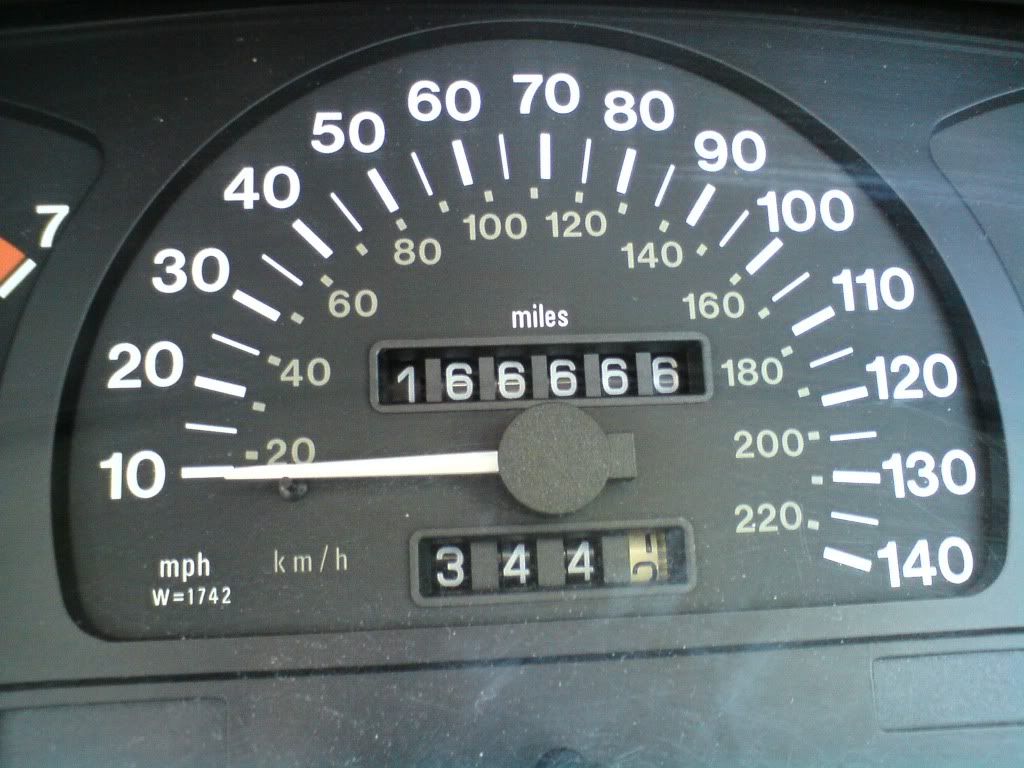
Well it’s a 1993 1.6i (C16NZ2) engine LS with currently roughly 168600 miles on the clock I've been driving the cavalier for 2 years now using it to commute to college and back every day. In that time I've had no serious faults and she has never let me down.
Some history:
The Cavalier was first registered on the 24th June 1993 when it was purchased by the post office and used as a company car until it was bought by my father in September 1996 it was then used by my mother and later my father as the main family car alongside my fathers 1984 MK2 Cavalier 1.3 L which my sister and I lovingly nicknamed "Rusty" for obvious reasons. In the whole time it’s been in my family it has never broken down and it has only failed to start first time once and that was because of a flat battery!
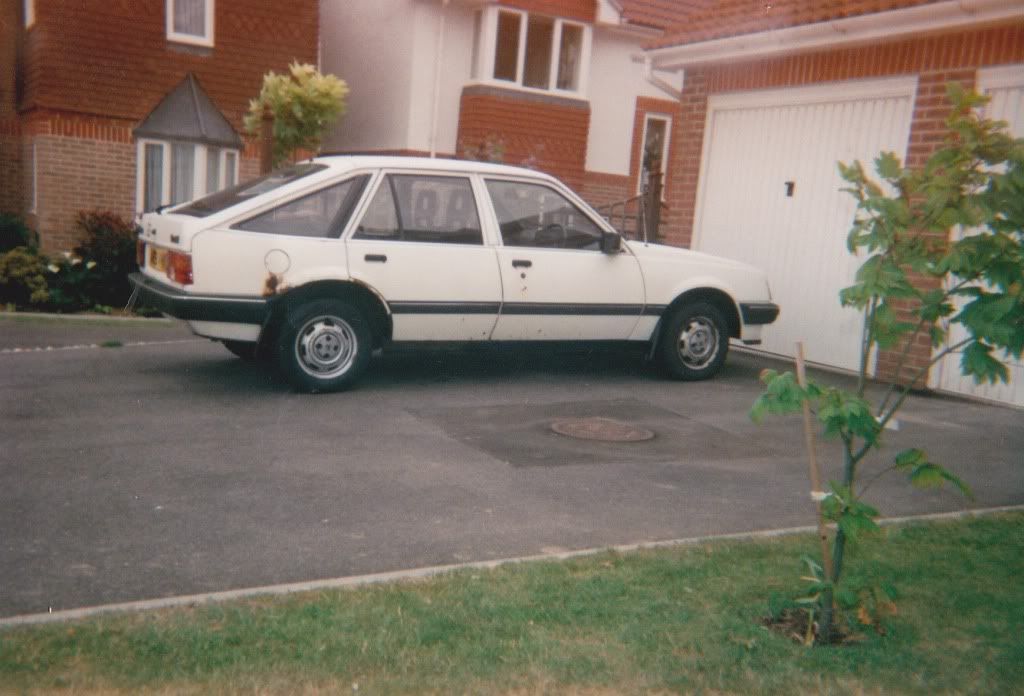
Here is one of the only photos I have of old Rusty very late in its life:
When the MK2 sadly gave up in 2001 after covering about 160,000 miles my father bought another car and later bought a new car for my mother leaving the Cavalier practically redundant until I started driving it 2 years ago.
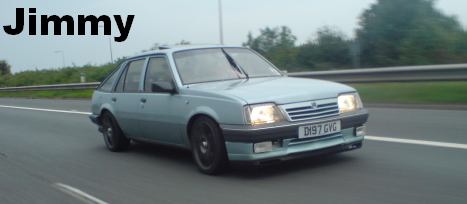
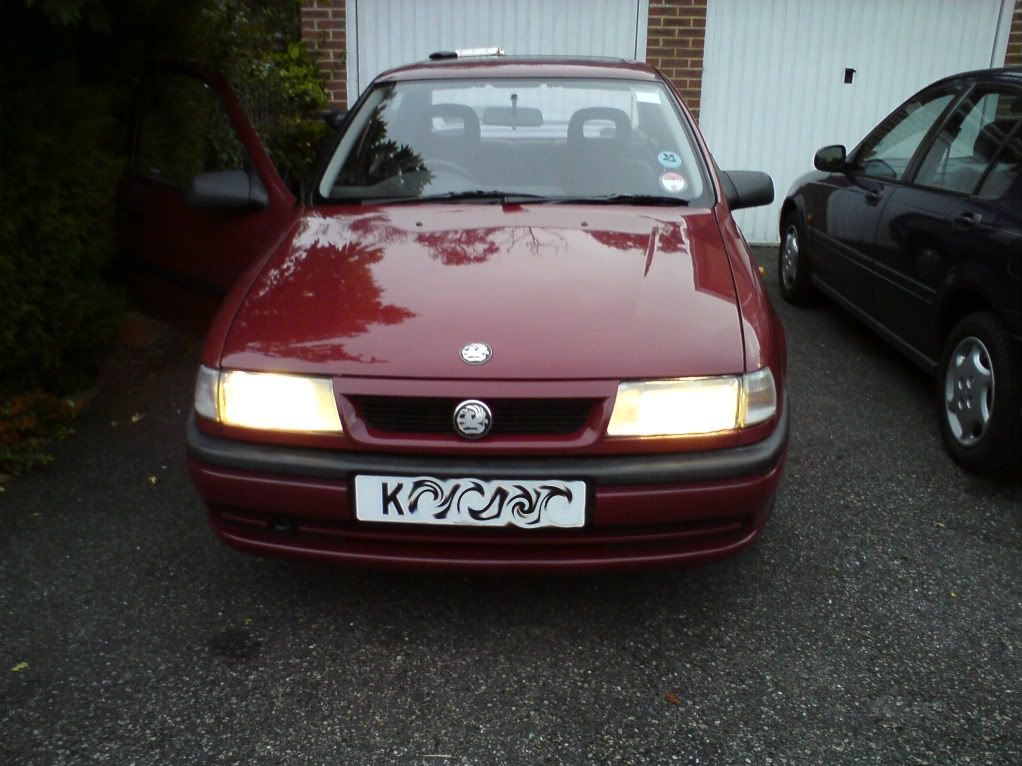
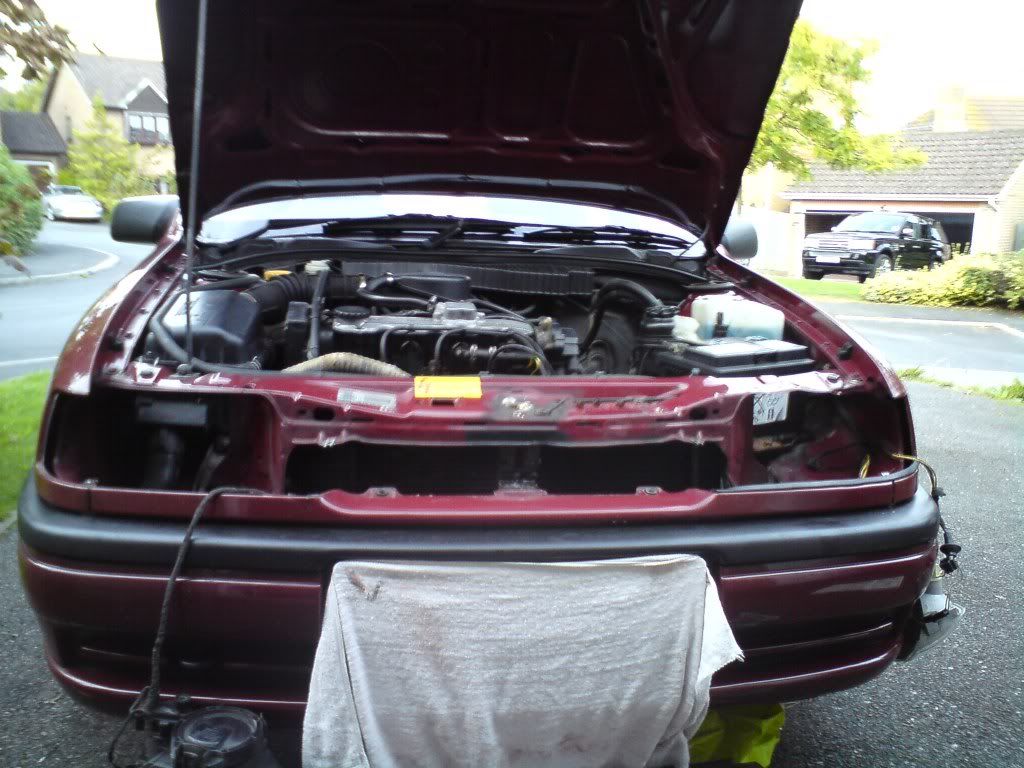
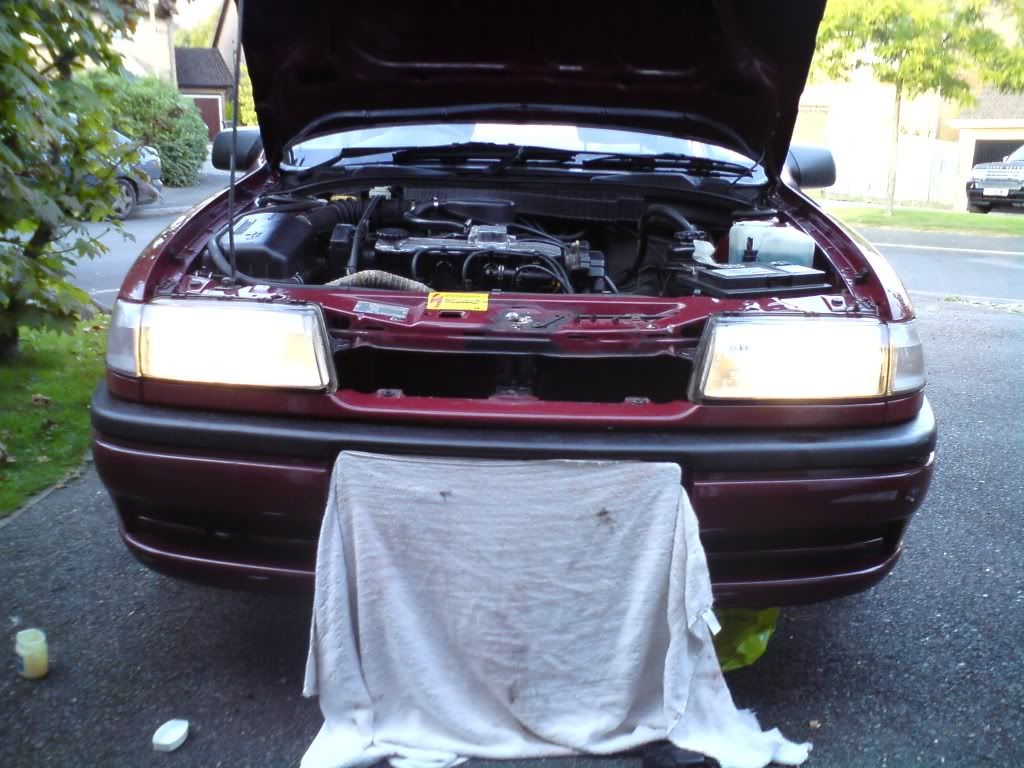
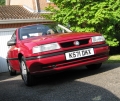
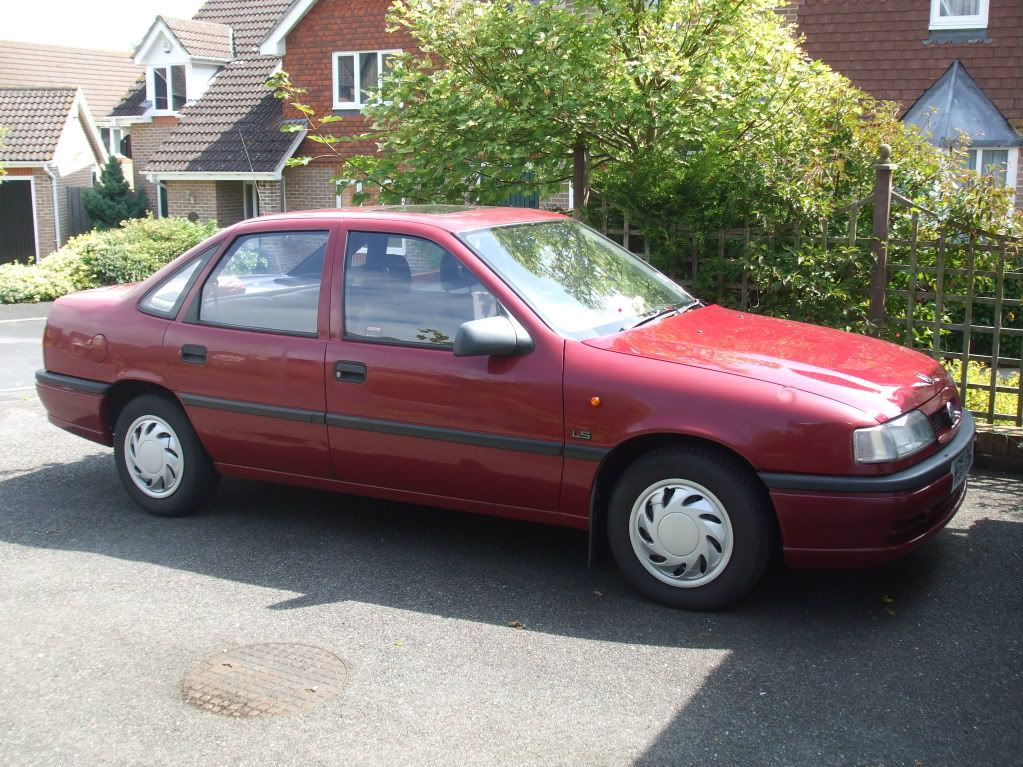
Here is a photo of her when I first started driving.
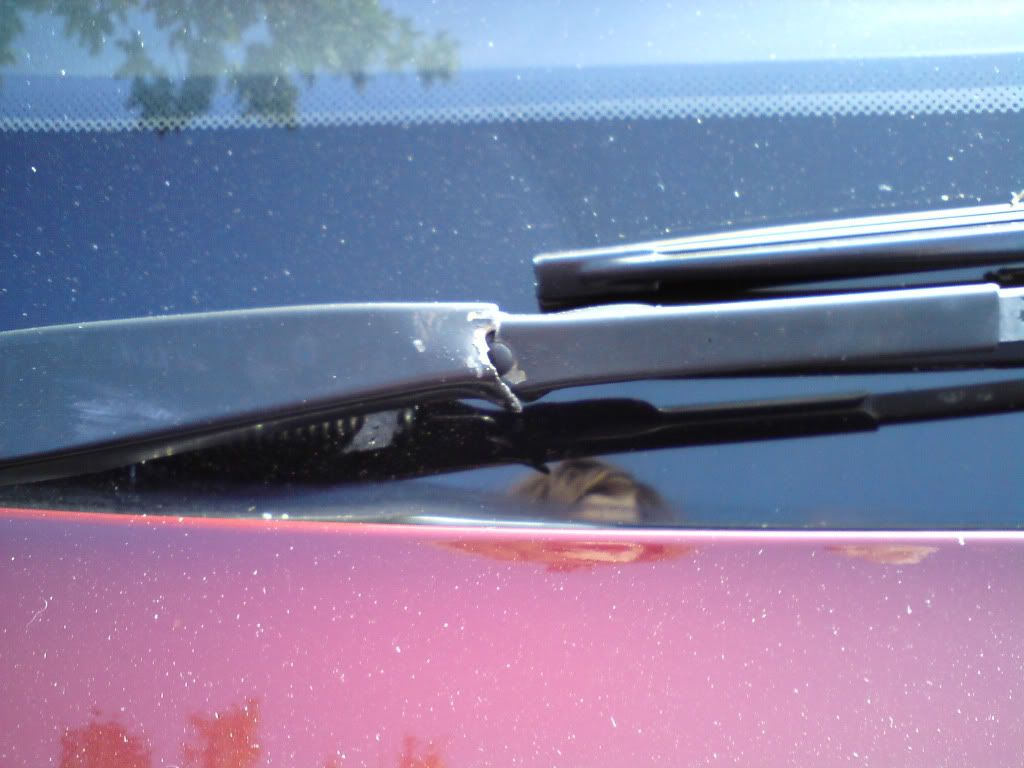
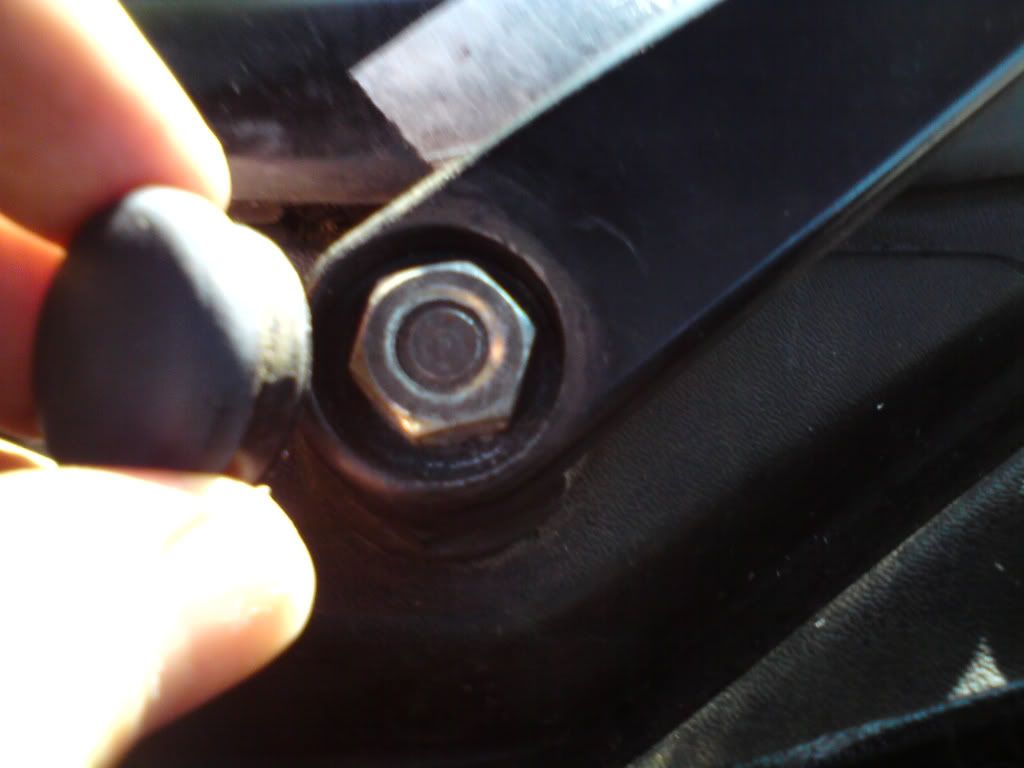
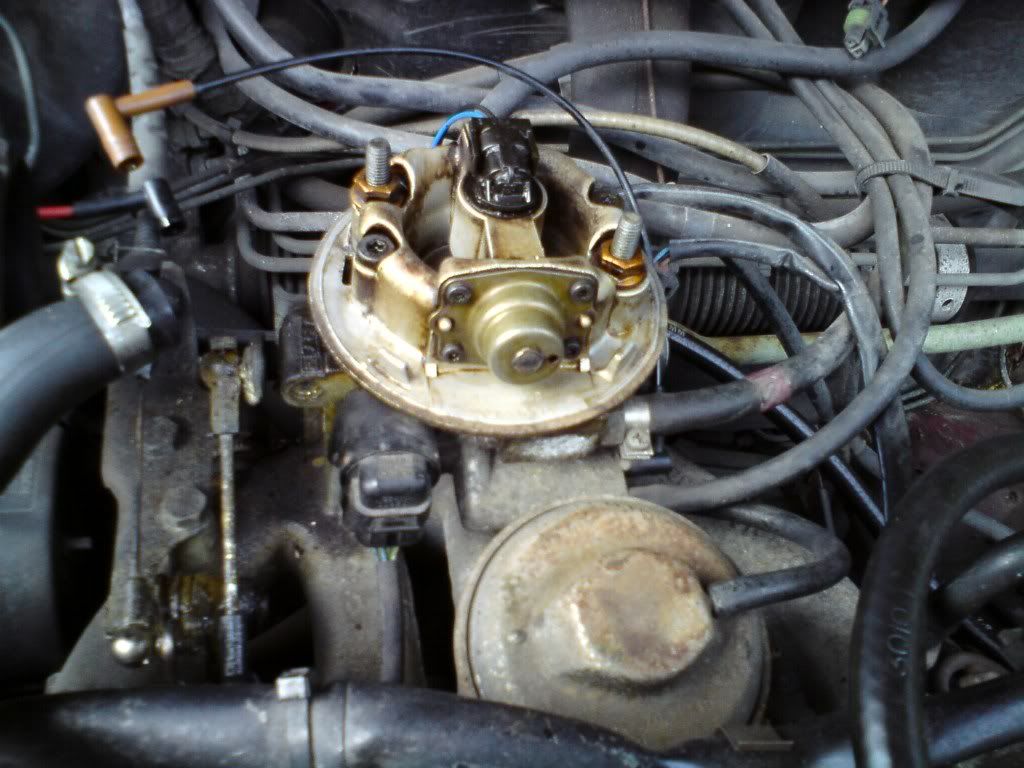
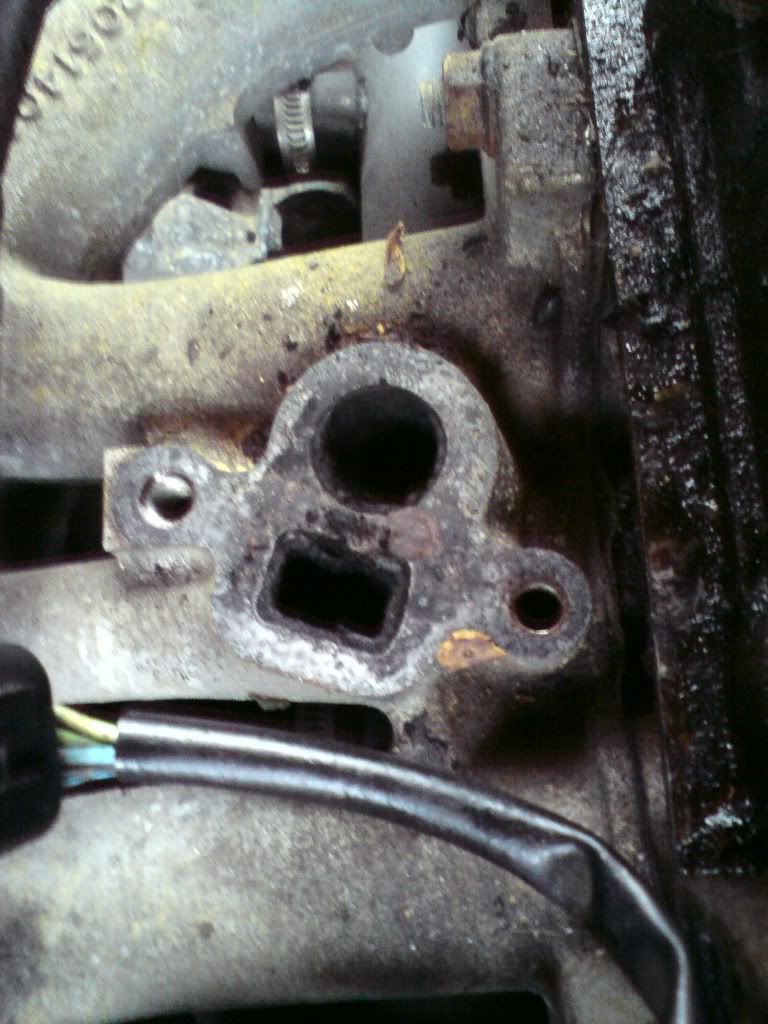
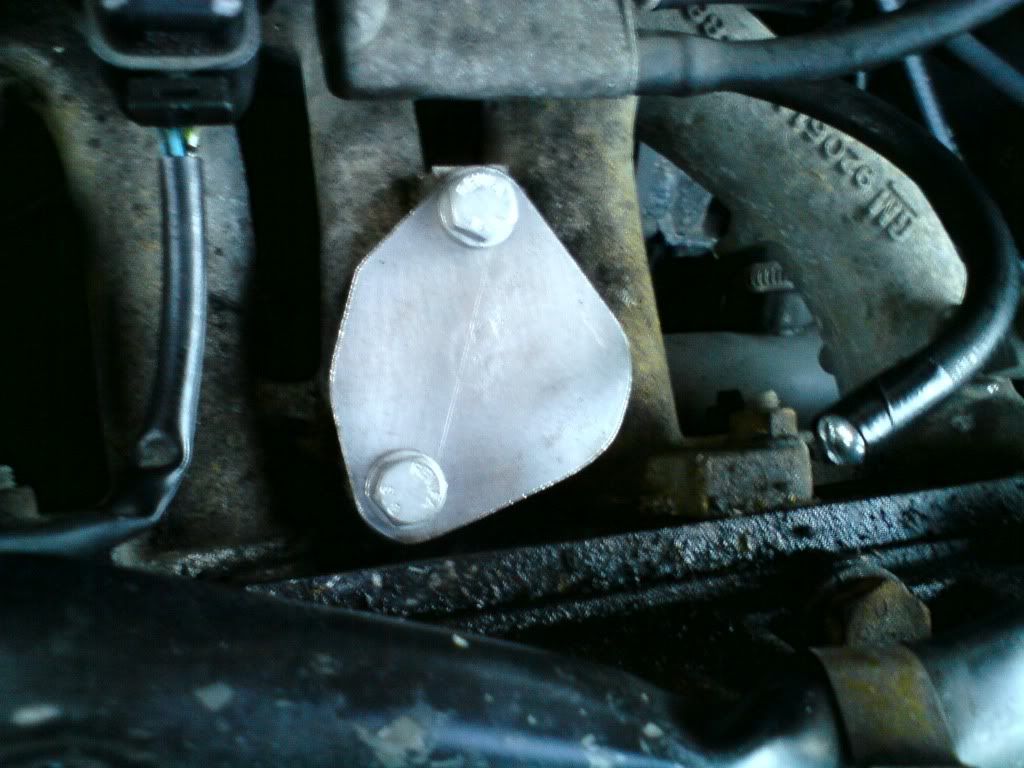
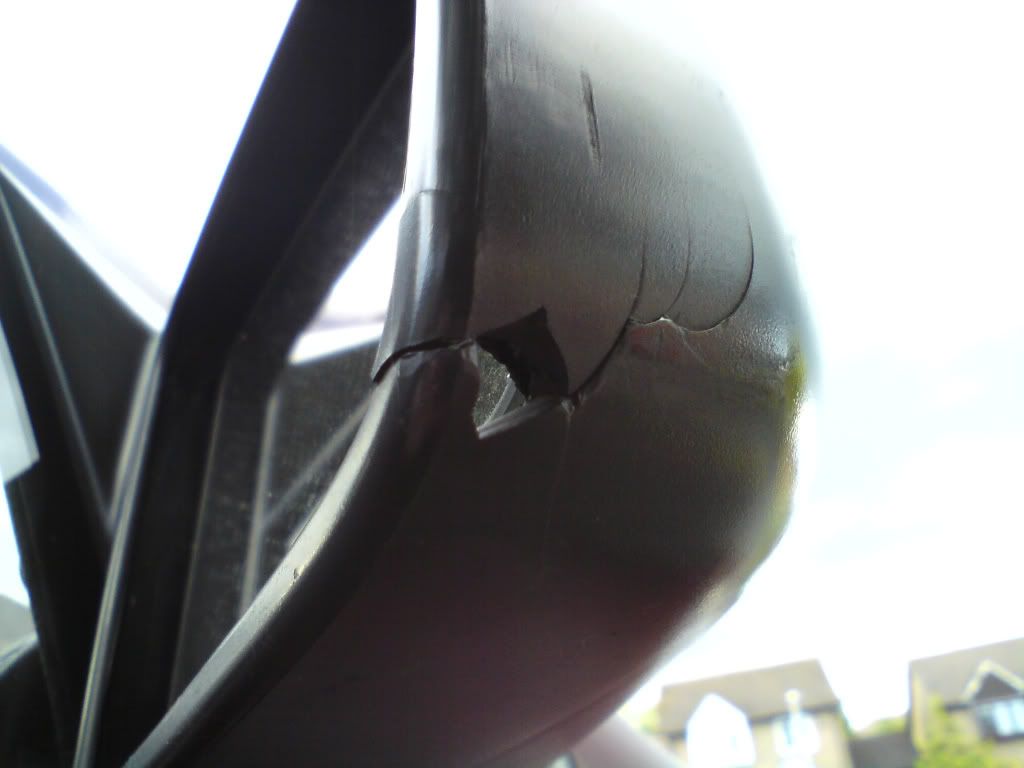
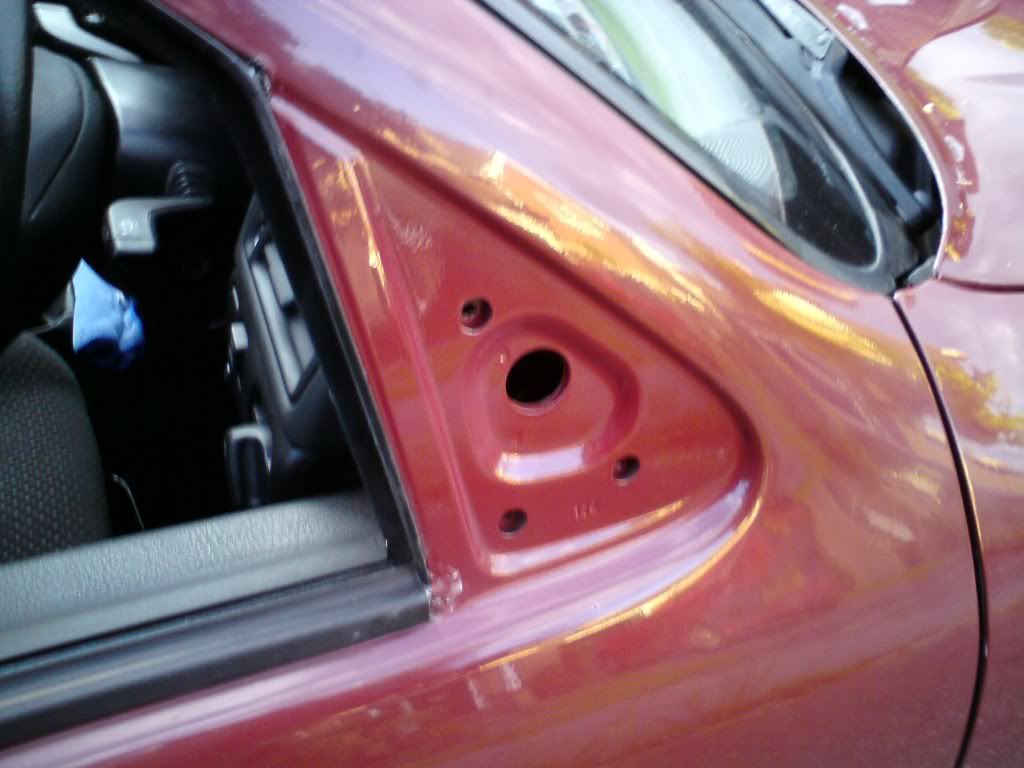
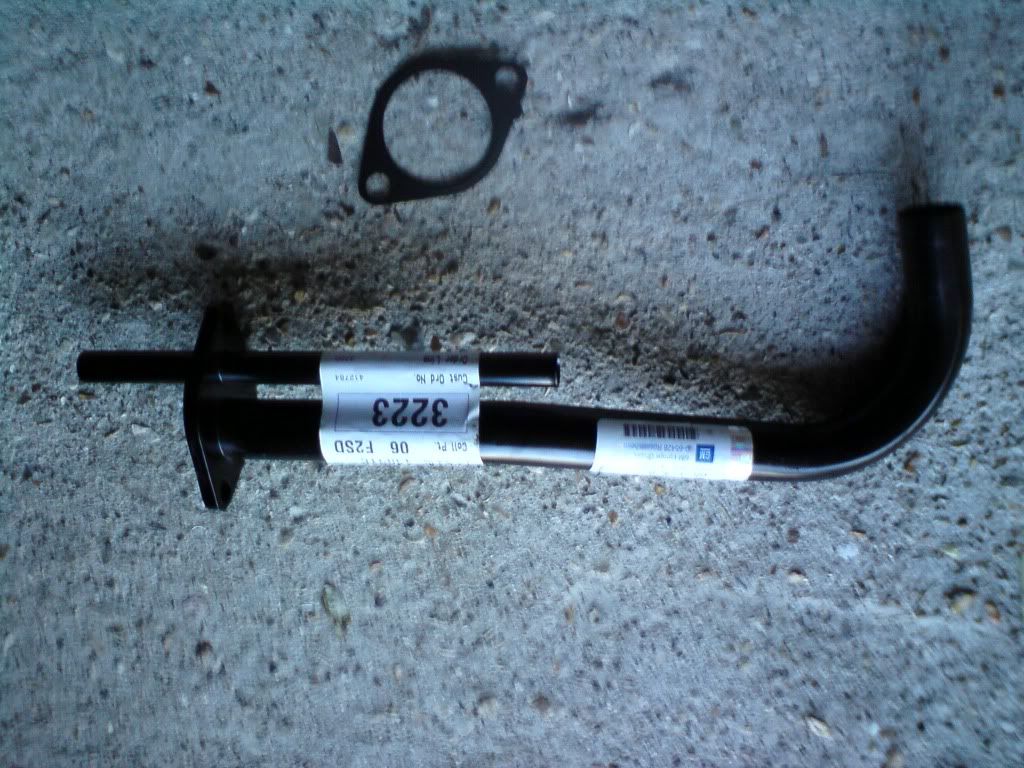
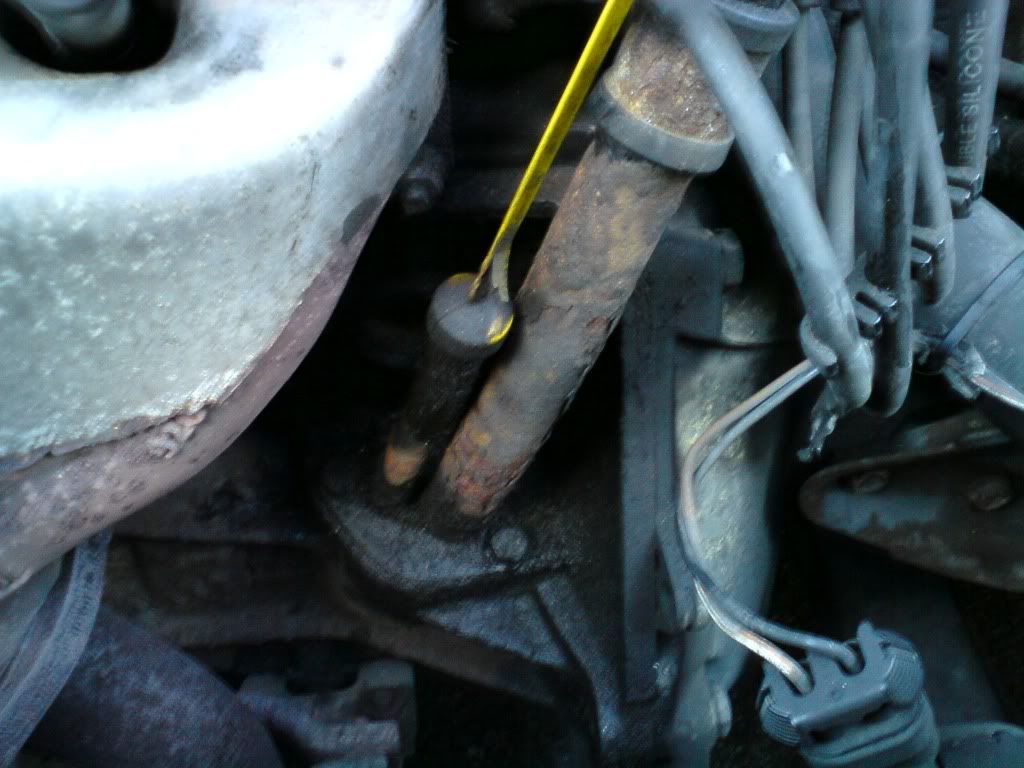
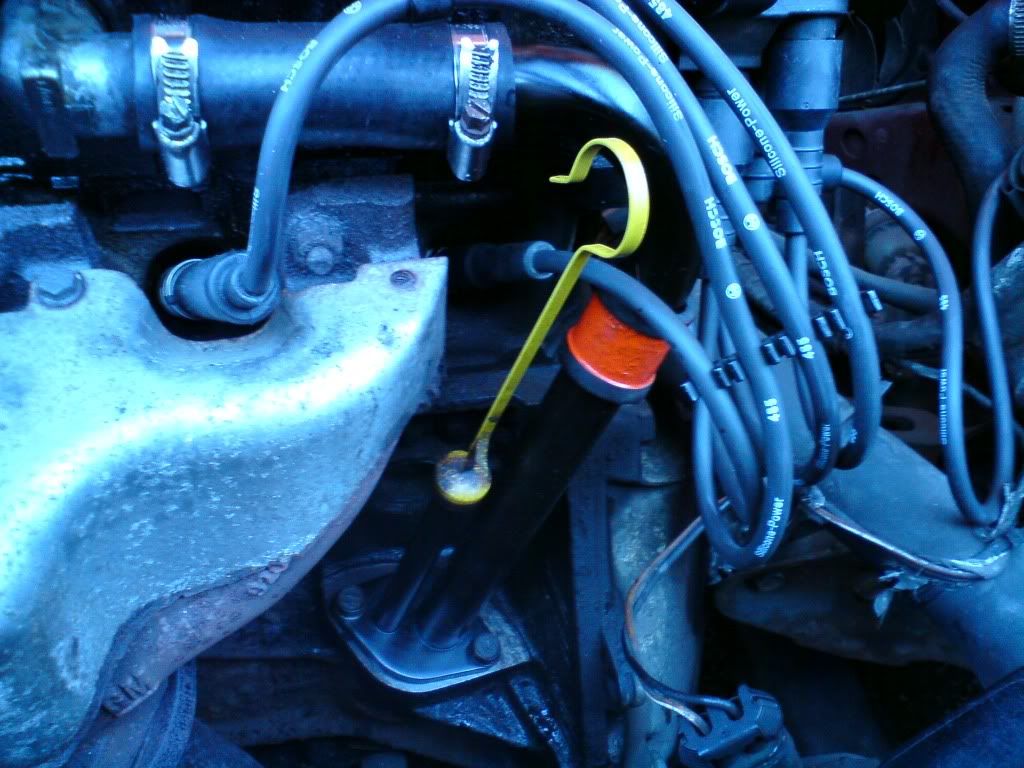
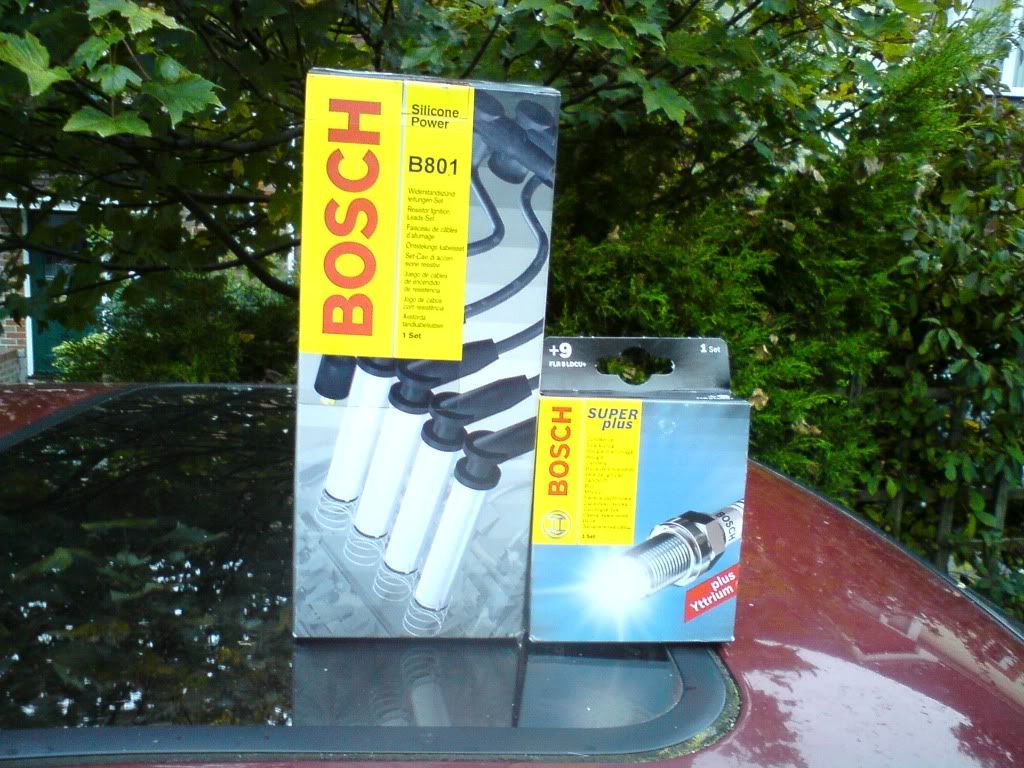
At the moment I'm mainly trying to just maintain her so most of my work will be replacing broken bits ect. Although I do have a few long term goals such as getting the bodywork sorted out, removing any rust and under-sealing for example. One thing I will not be doing however are any major modifications. I certainly have no intention of replacing in my opinion the very underrated C16NZ2 engine.
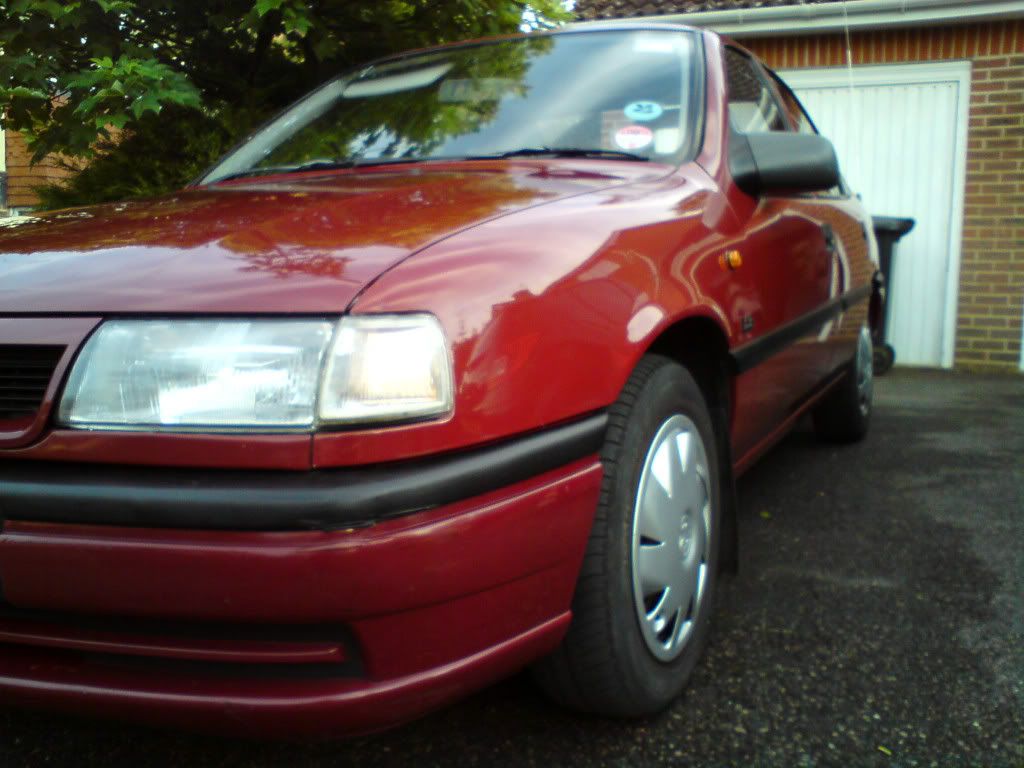
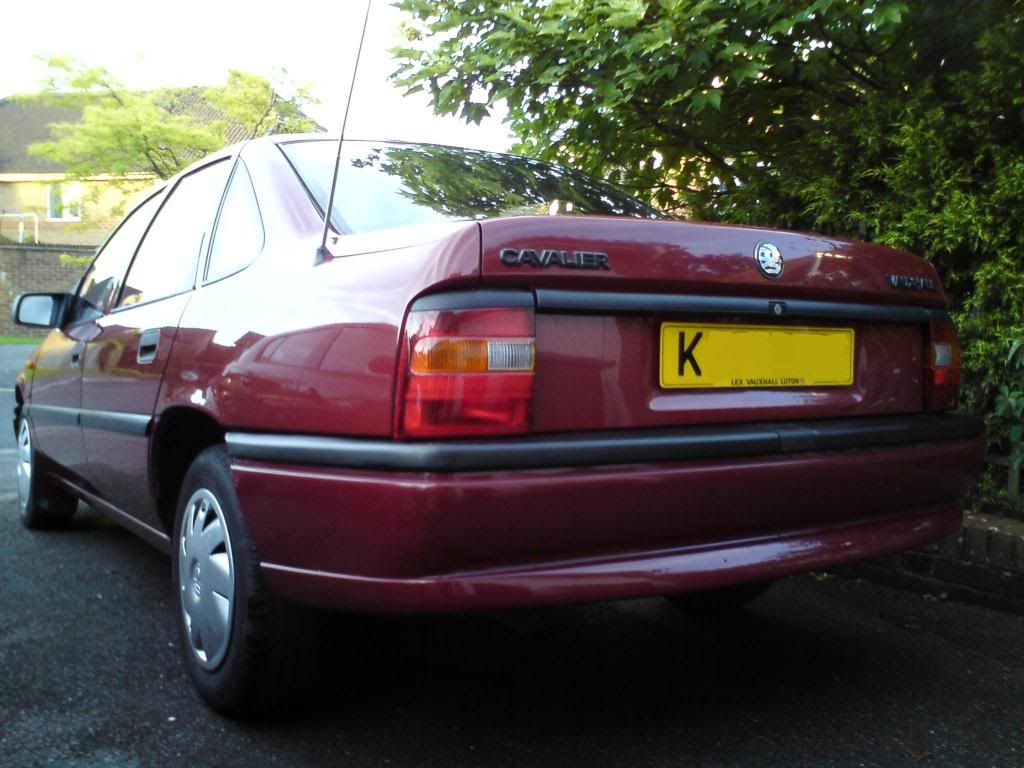
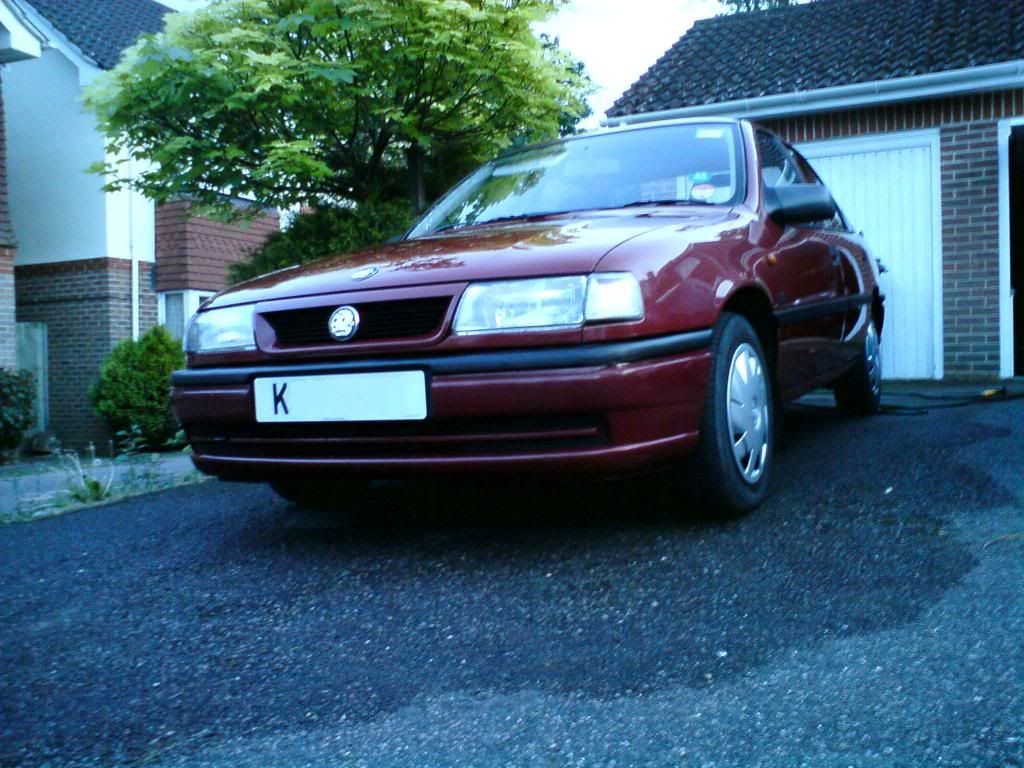
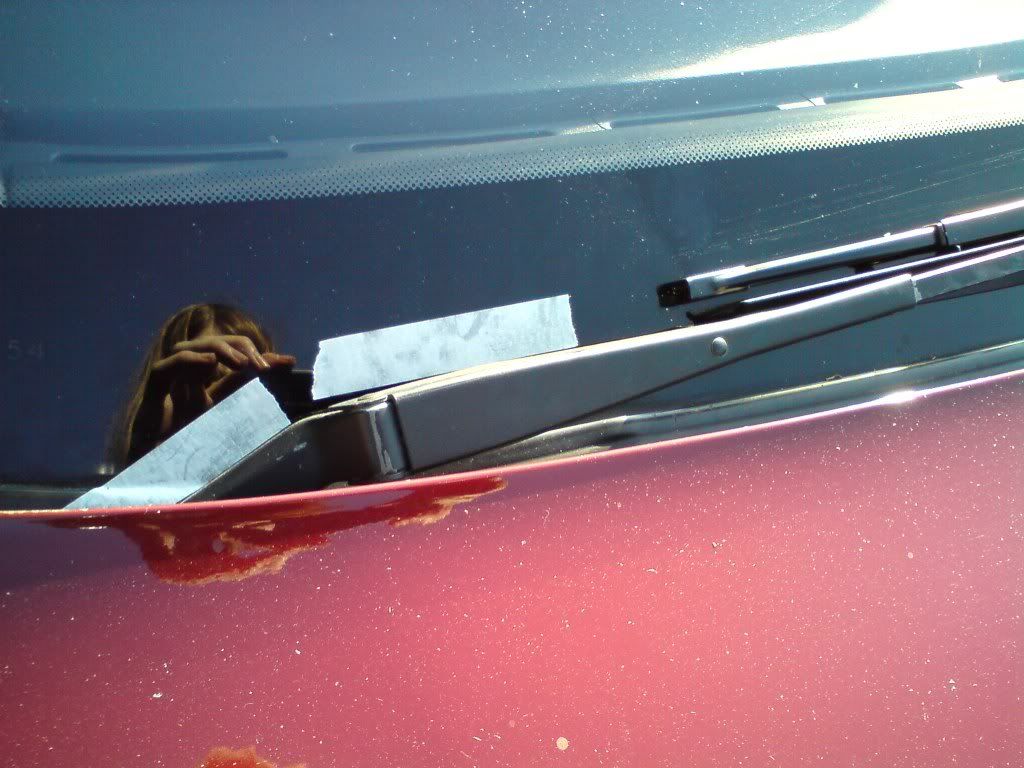
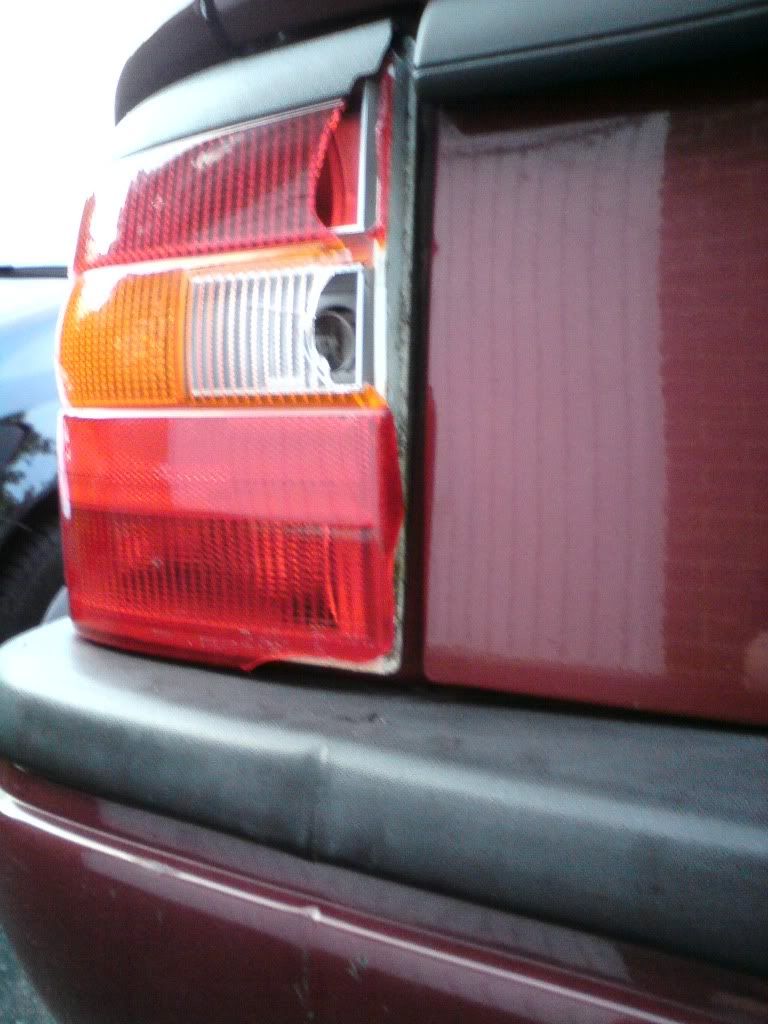
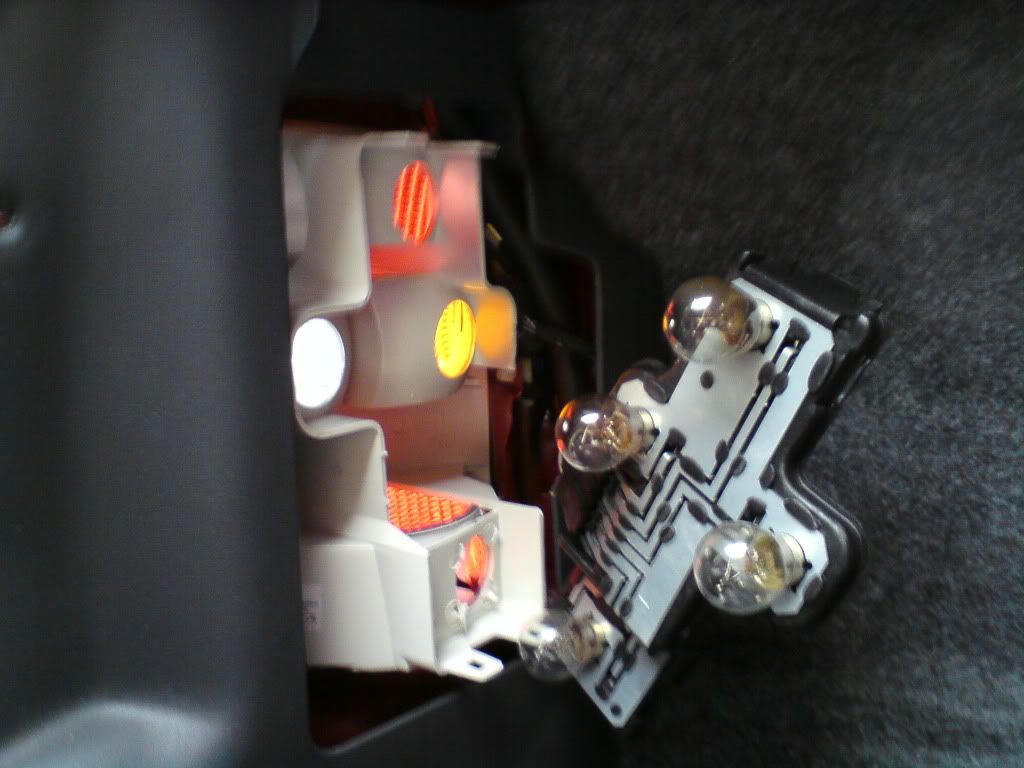
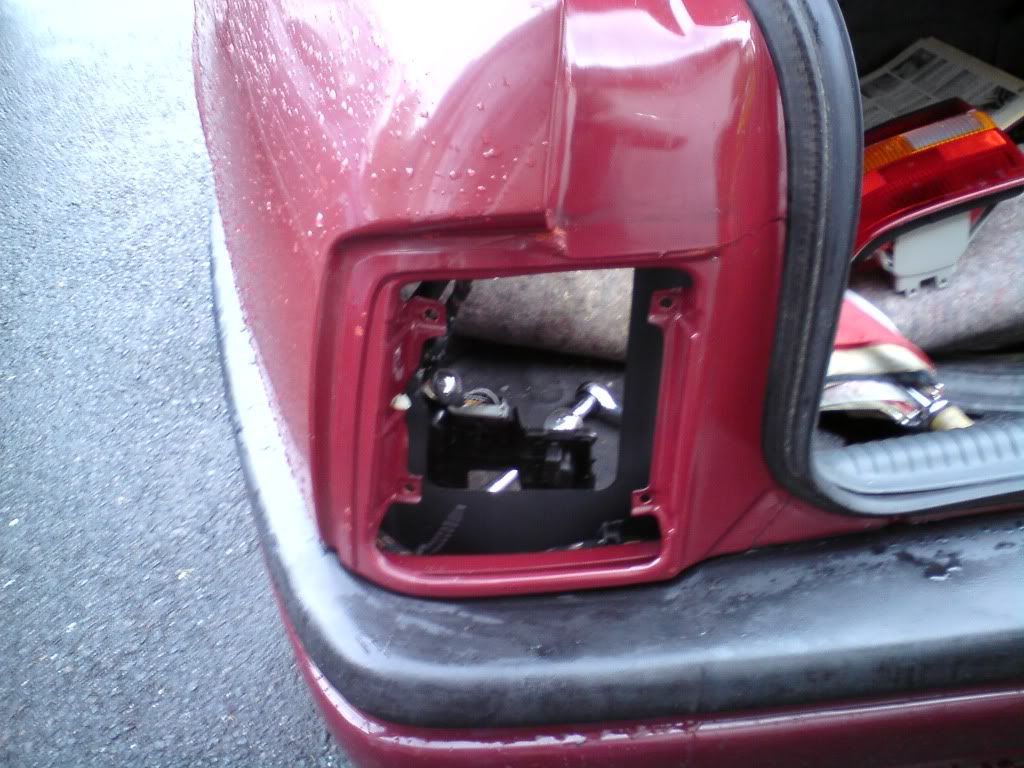
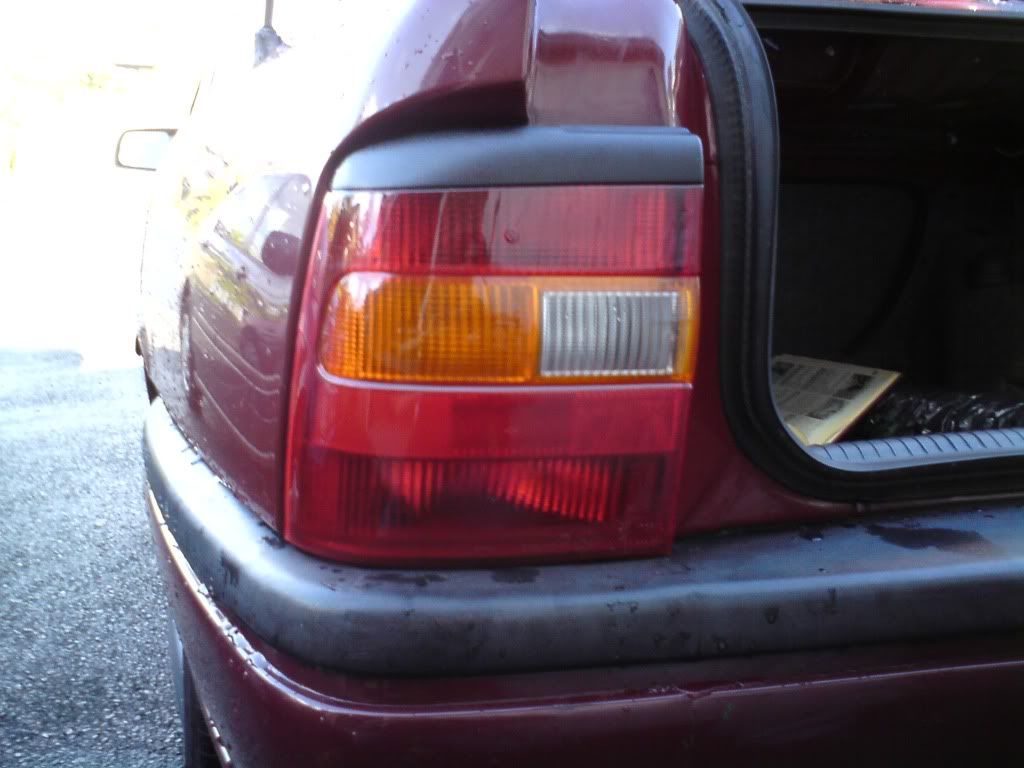
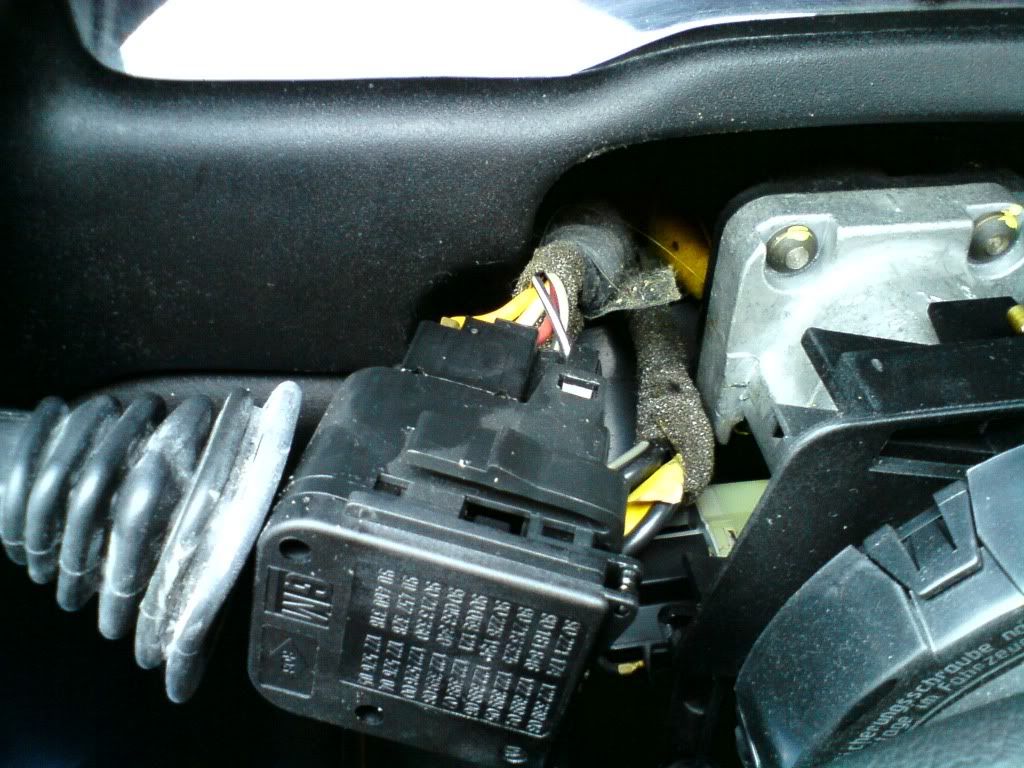
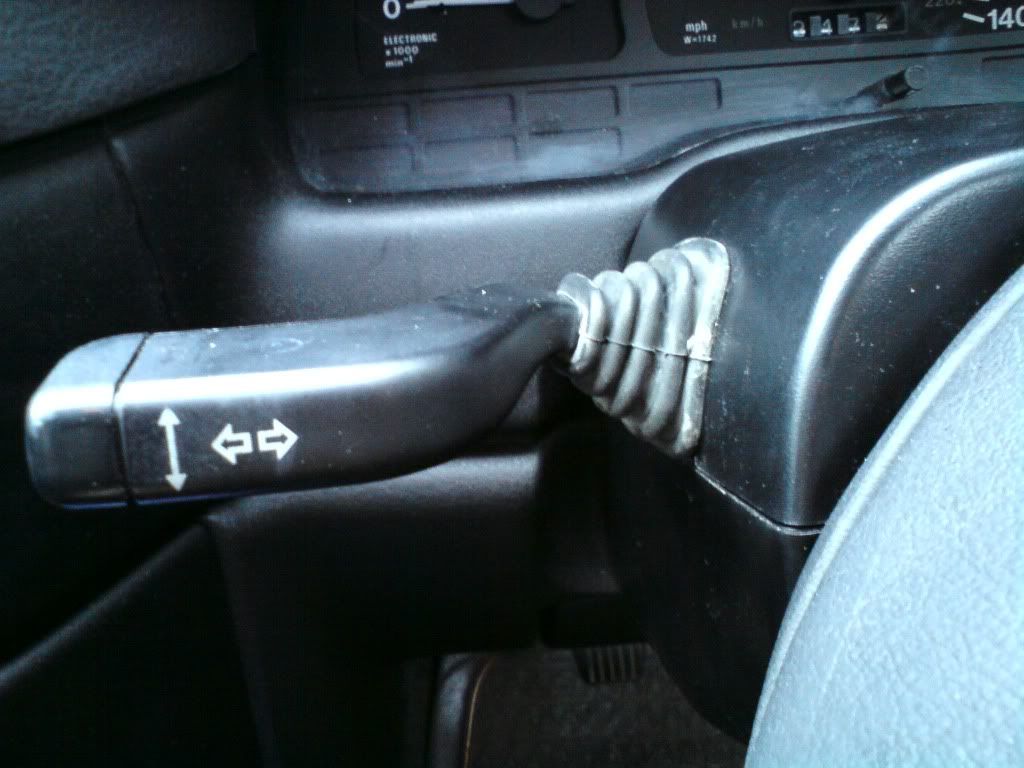
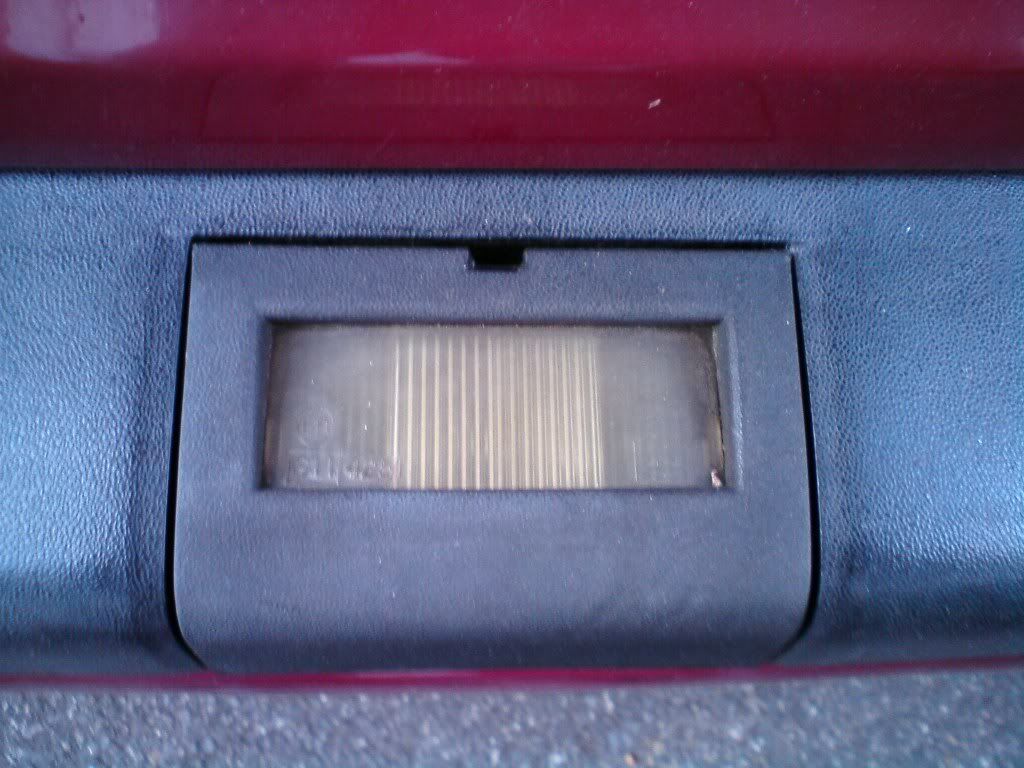
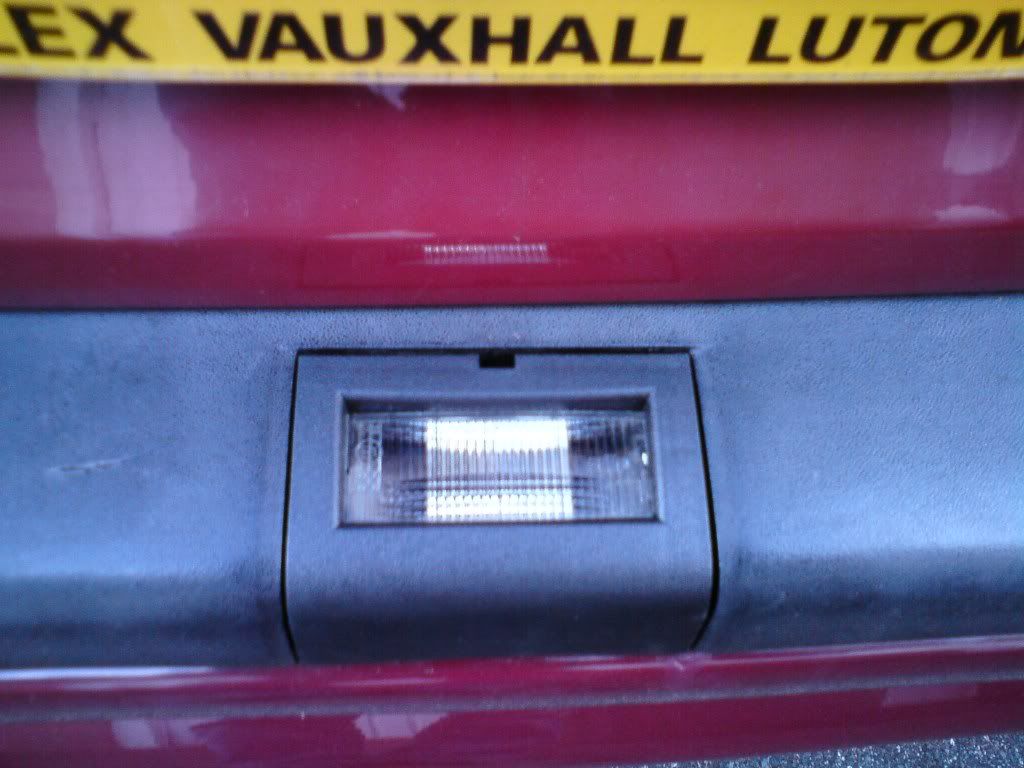
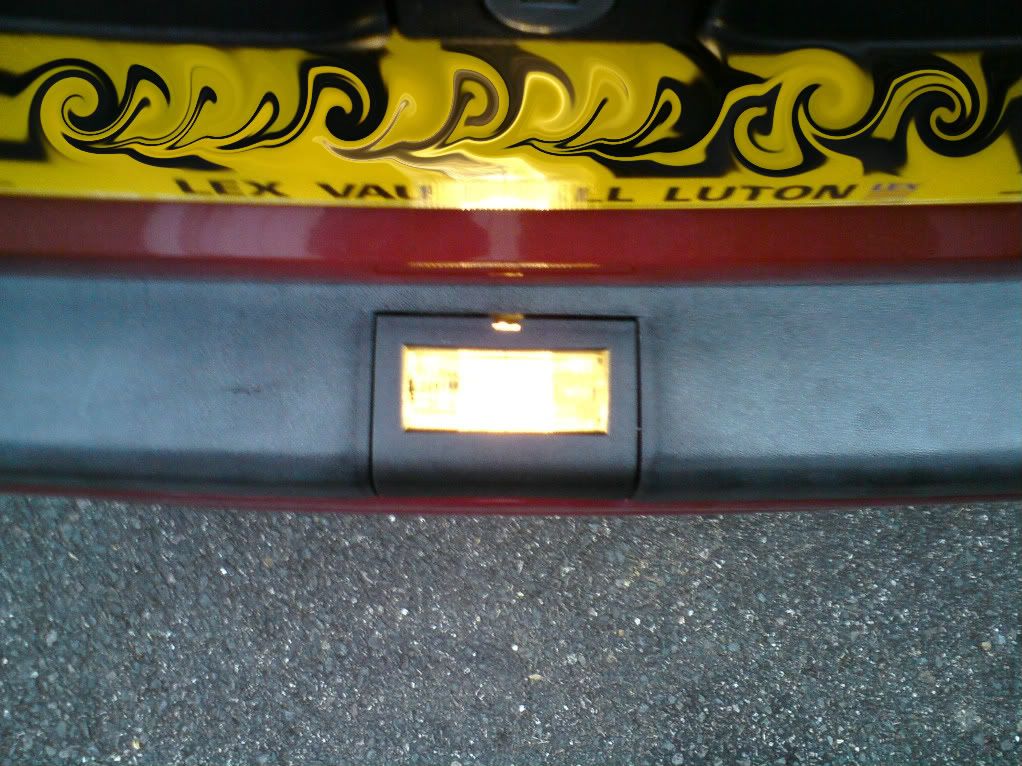
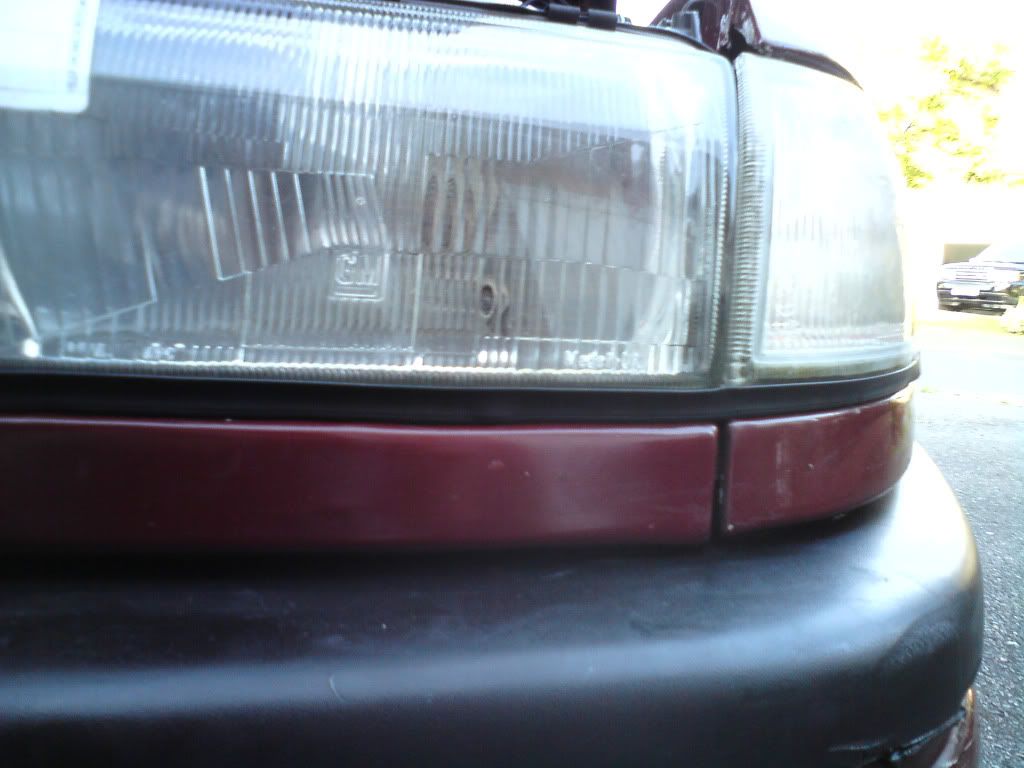
I will add some posts of the work I’ve been doing this summer over the next couple of days. However for now I will leave you with some more recent photos, enjoy.