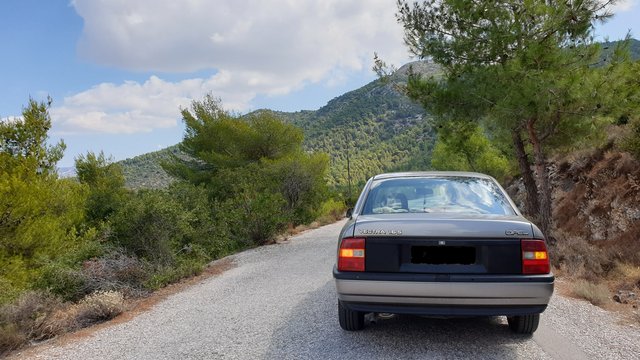
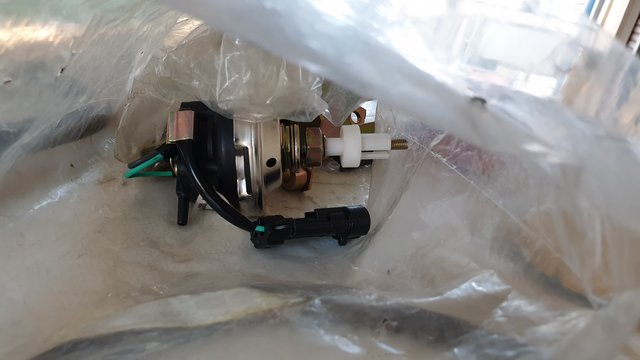
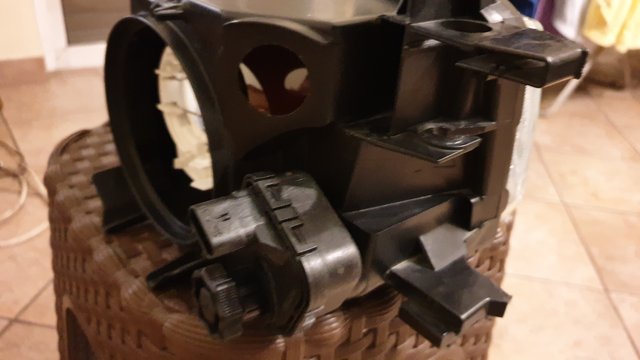
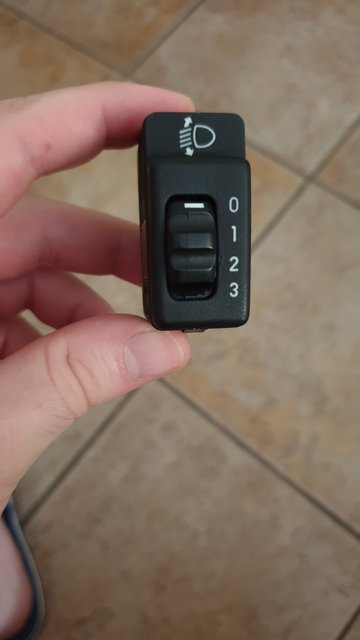
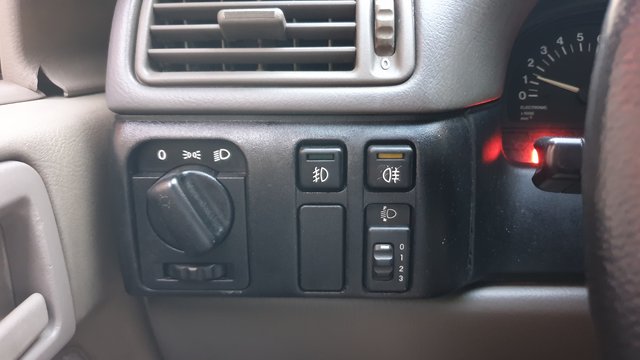
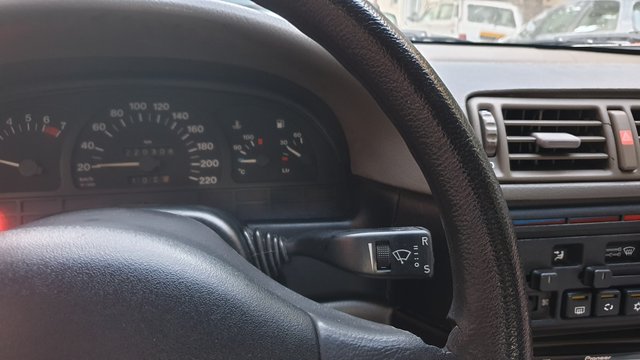
It is an Opel Vectra A 1989 model year with the 1.6 carburated 16sv engine. In this first post I will show you some bodywork pictures. In the following posts I will upload interior, electrical and engine work. Note that it is still work in progress.
The car has about 600.000 kilometers on the clock and it is still going strong and reliable without any rebuilds so far, just a couple head gasket replacements and the full necessary maintenance.
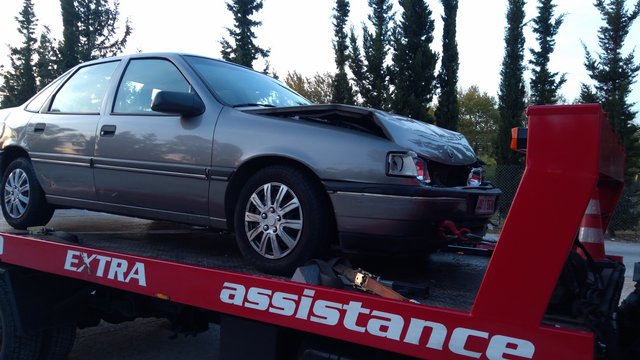
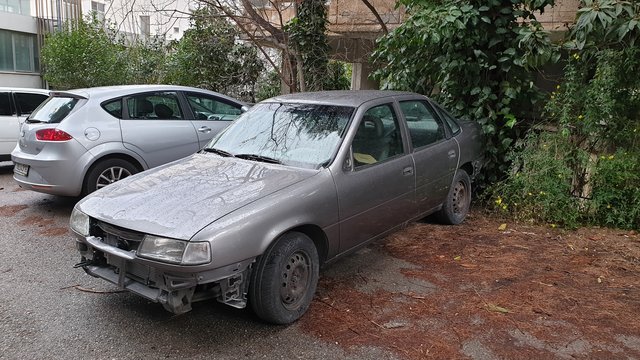
The story begins with a small frontal collision and besides going to the scrapper i decided to fully restore the car to its former glory.
After the necessary "massage" from a skilled mechanic these where the results.

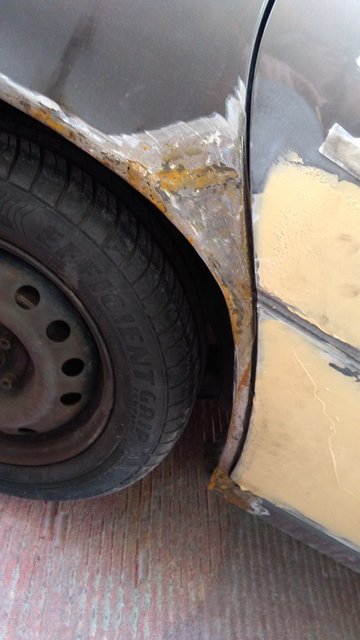
Then we started taking the smaller dents an the rust in the rear arches. Luckily there was rust just there and under the trunk seal.
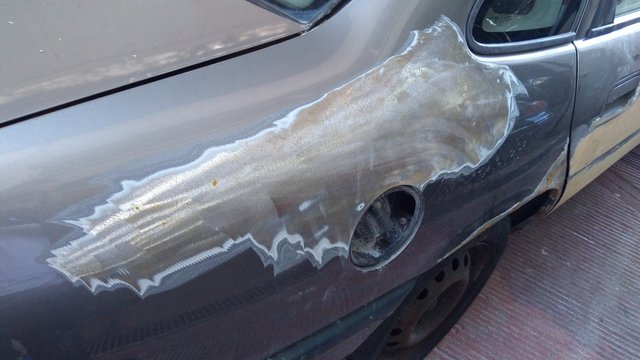
We were committed to use the least amount of filler and use metalwork for straightening the body. Here it was a really big dent from a broken tree brunch.
The next fase after a lot of sanding was priming and even more sanding!

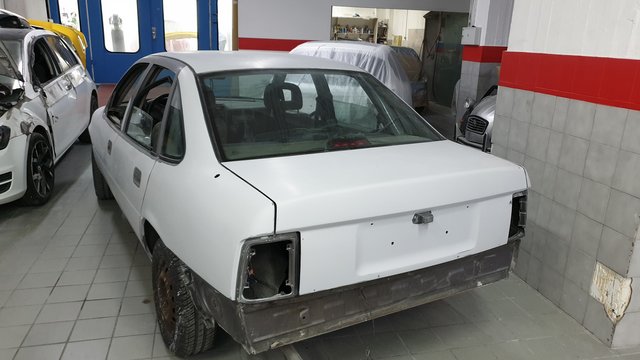
The first result was pleasing and worthy of the money and time invested.
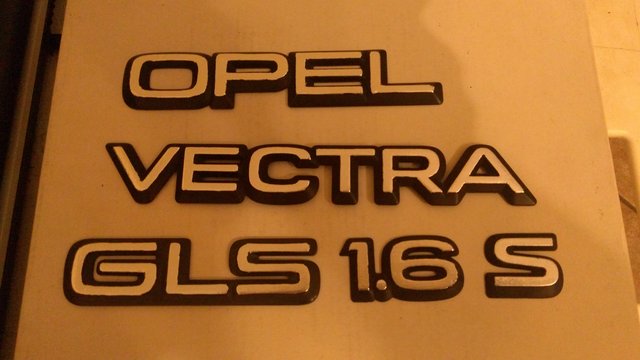
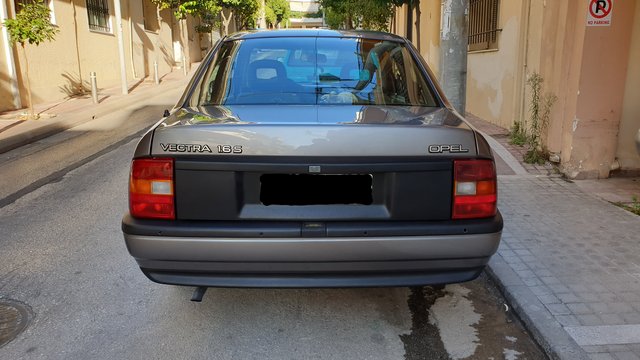
The rear emblems were also restored because they were pretty worn out by the sun and the countless washes through a 30 year lifespan.
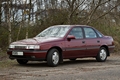
Finally a good set of 14 inch astra f gt alloys were added an the final result is this.
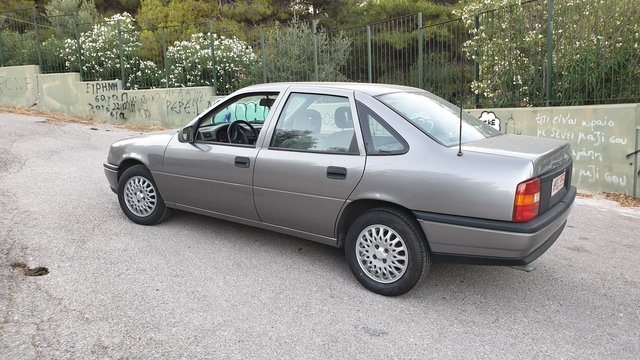
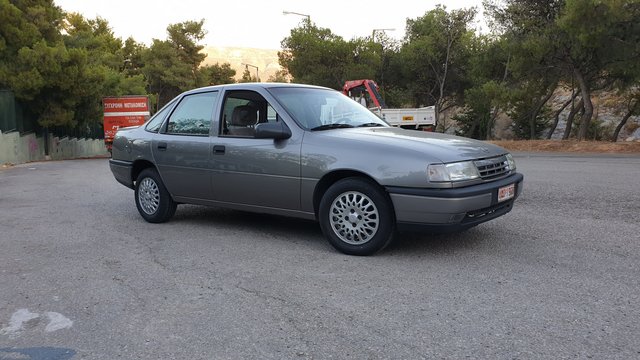
I hope you like this first post of the vectra odyssey. Thanks for reading this long post and if anyone has a question I would be more than happy to answer!
I hope the following posts will come in a few days!
Best regards to all of you!!